
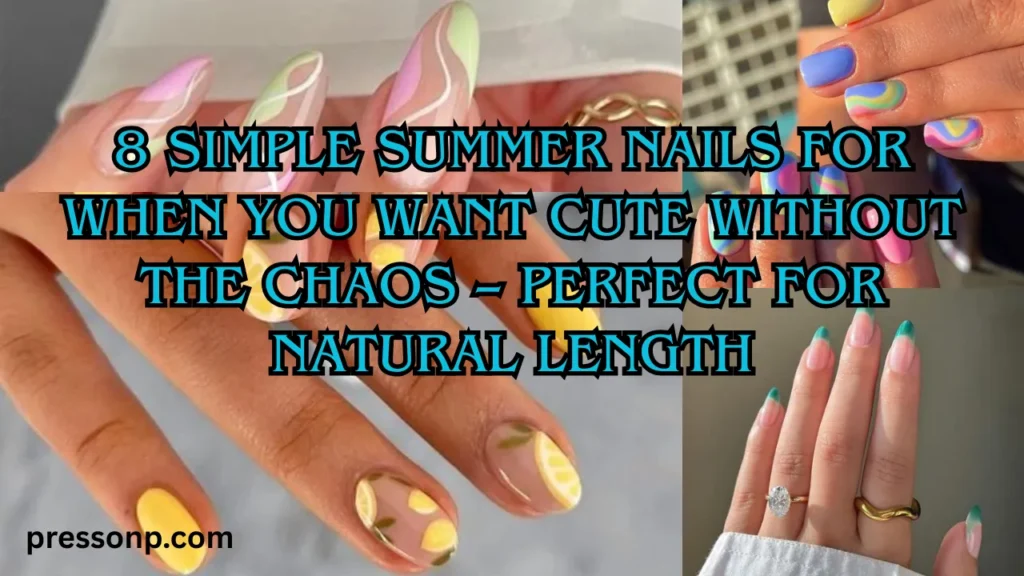
You know that feeling? You scroll through Pinterest, and every summer nail design looks like it requires a art degree, six different brushes, and three hours of patience you just don’t have. You want cute nails. You want summer vibes. But you do not want the chaos of complicated patterns, messy clean-up, or designs that look wrong on shorter nails.
I hear you. That’s exactly why I’m sharing these Simple Summer Nails for When You Want Cute Without the Chaos. These ideas are low-effort, high-reward, and absolutely gorgeous on natural length nails. No stress. No frustration. Just fresh, fun summer nails you can actually wear.
In this guide, I’ll walk you through 8 foolproof designs, plus the easiest DIY techniques for beginners. Ready to fall back in love with your nails? Let’s go!
01. The One-Color Wonder: Your New Best Friend
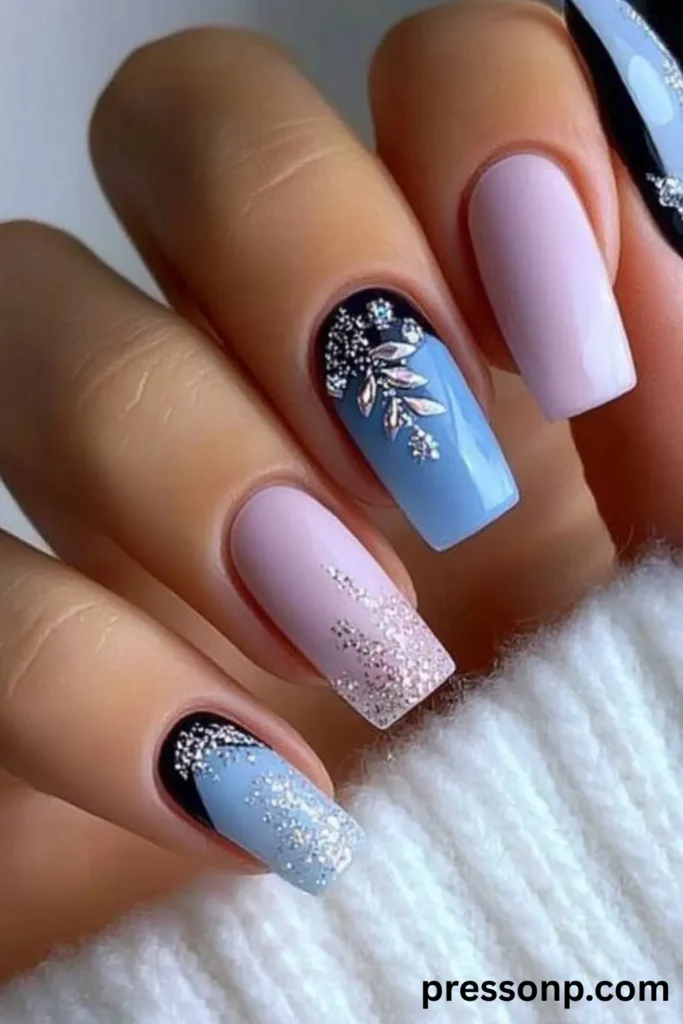
Sometimes the simplest choice is the chicest. A single, happy summer color on every nail is classic, clean, and impossible to mess up. For Simple Summer Nails that feel effortless, pick a shade that makes you smile—think watermelon pink, ocean blue, or mango orange.
Why it works on natural length:
- No busy patterns to overwhelm short nail beds.
- The uniform color creates a lengthening illusion.
- Chips are less noticeable (just touch up with the same polish).
My go-to one-color polish types:
- Jelly/sheer: Glossy and translucent—looks like candy.
- Creme: Opaque and creamy—super polished.
- Shimmer: A little sparkle without glitter chaos.
Save-worthy tip: Apply two thin coats instead of one thick one. It dries faster, lasts longer, and looks professional even if you’re a beginner.
02. Dotted Delight: Two Tools, Zero Stress
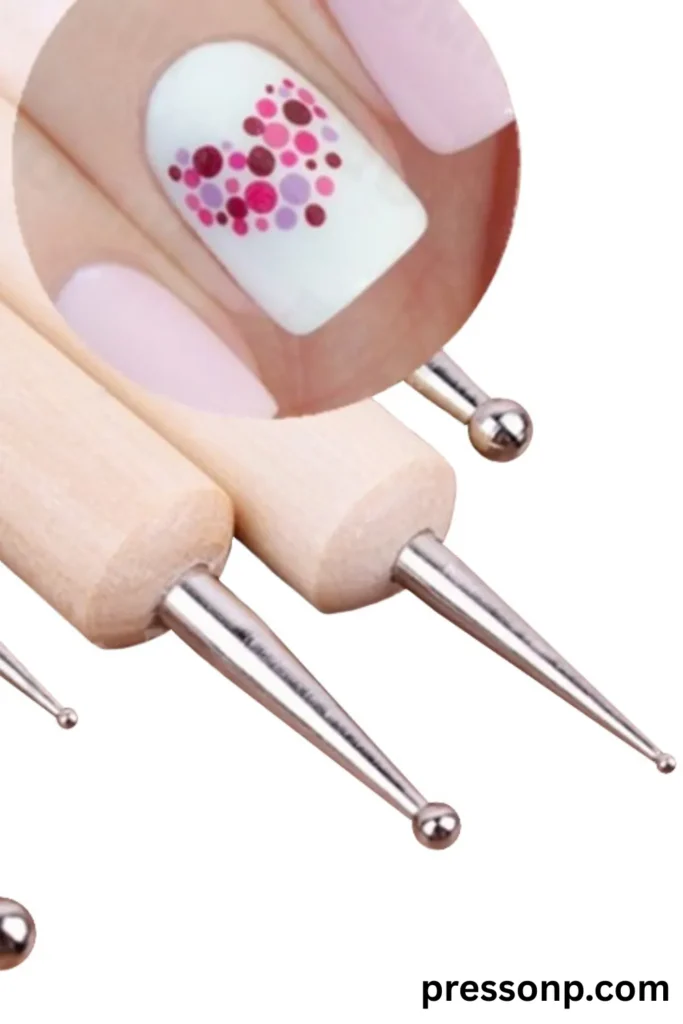
You don’t need steady hands for this one. A simple dotting tool (or even a bobby pin or toothpick) creates the cutest Simple Summer Nails in minutes. Dots are forgiving, playful, and look intentional even if they’re slightly uneven.
How to create dotted summer nails on natural length:
- Paint your base color (white, or pastel).
- Dip your dotting tool into a contrasting color (neon pink, bright yellow, or turquoise).
- Make 3–5 dots in a row near your cuticle or along the tip.
- Let dry and add top coat.
Variations to try:
- Polka party: Random dots all over.
- French dot tip: Dots lined up like a French manicure.
- Single accent dot: One larger dot on each ring finger.
Save-worthy quote: “Dots don’t demand perfection. That’s their superpower. A wobbly circle just looks… artistic.”
03. The Sheer Shimmer: Elegance in One Swipe
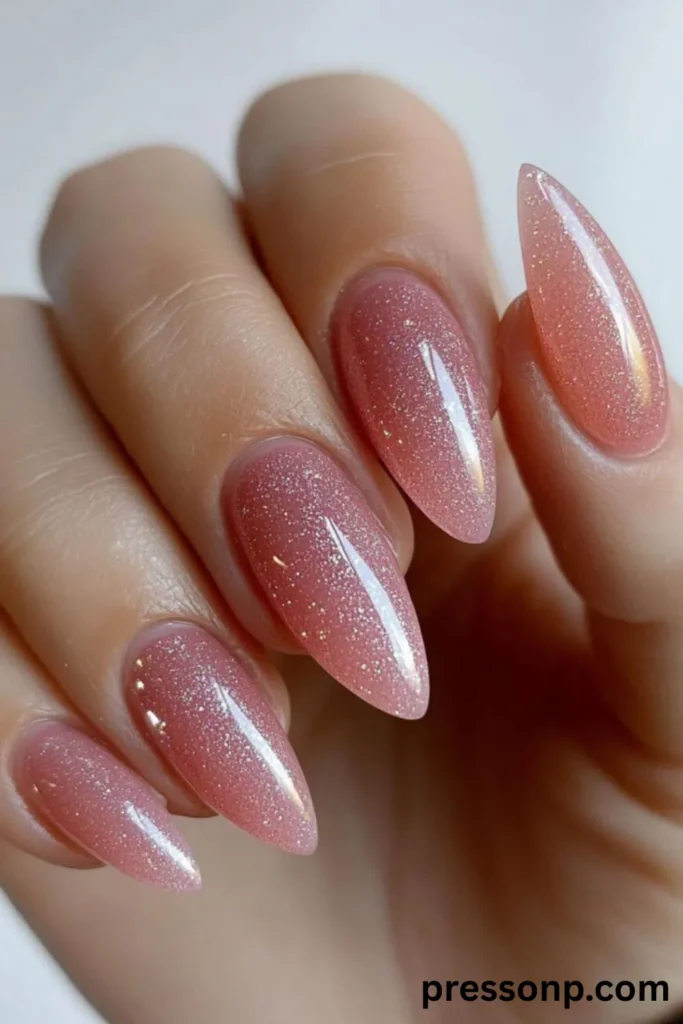
Want Simple Summer Nails that look like you tried just enough? Go for a sheer shimmer polish. These are semi-transparent with a fine pearl or iridescent glow. They dry quickly, hide mistakes, and catch the sunlight like a dream on natural length.
Best sheer shimmer colors for summer:
- Rose quartz (pink shimmer)
- Champagne (golden beige)
- Moonstone (white-blue shimmer)
- Peach fizz (orange-gold)
Application hack: No base coat needed for sheers. Just two thin layers directly on clean nails. The natural white tips of your nails show through slightly, creating a built-in French manicure effect.
Save-worthy tip: Apply one coat for a “my nails but better” look. Two coats for more opacity. Both are beautiful.
04. Negative Space Nails: Less Polish, More Chic
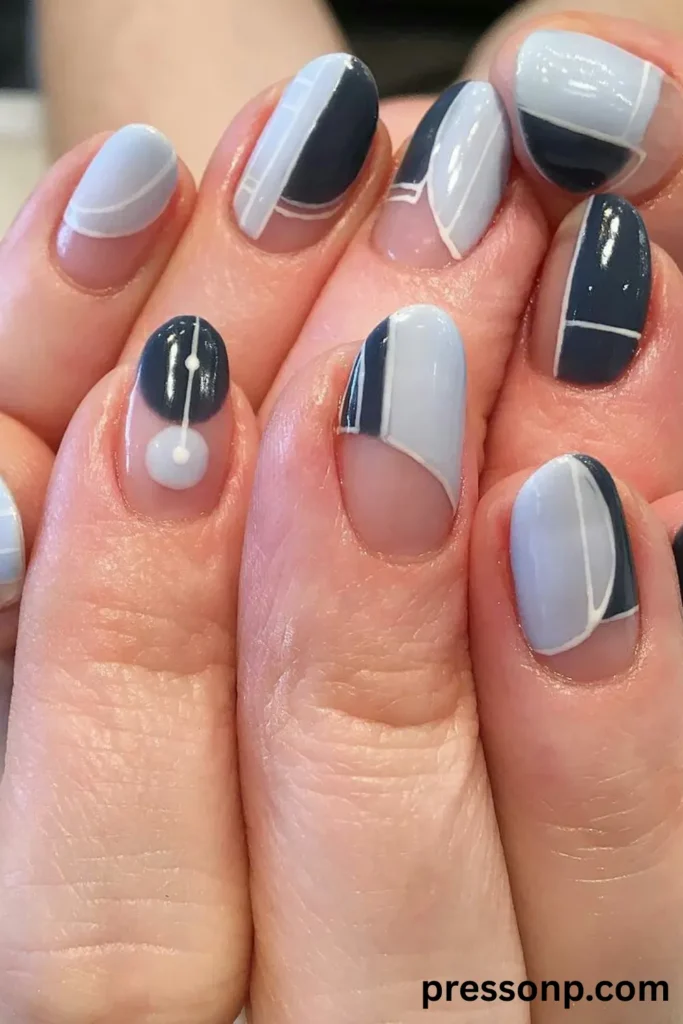
Negative space means leaving parts of your natural length nail bare. It’s trendy, edgy, and surprisingly easy. Plus, you use less polish—so less drying time and fewer mistakes.
Three beginner-friendly negative space ideas:
- Bare half moon: Leave the bottom curve near your cuticle unpainted.
- Center stripe: Paint only the middle third of your nail vertically.
- Tip only: Paint just the top half (like a reverse French).
How to get clean lines: Use striping tape or even small pieces of regular tape. Place them where you want the bare space, paint over, then peel off while the polish is still wet.
Save-worthy quote: “Negative space isn’t lazy—it’s intentional. And it looks ten times more expensive than a full-coverage color.”
05. One Accent Nail: Maximum Cute, Minimum Work
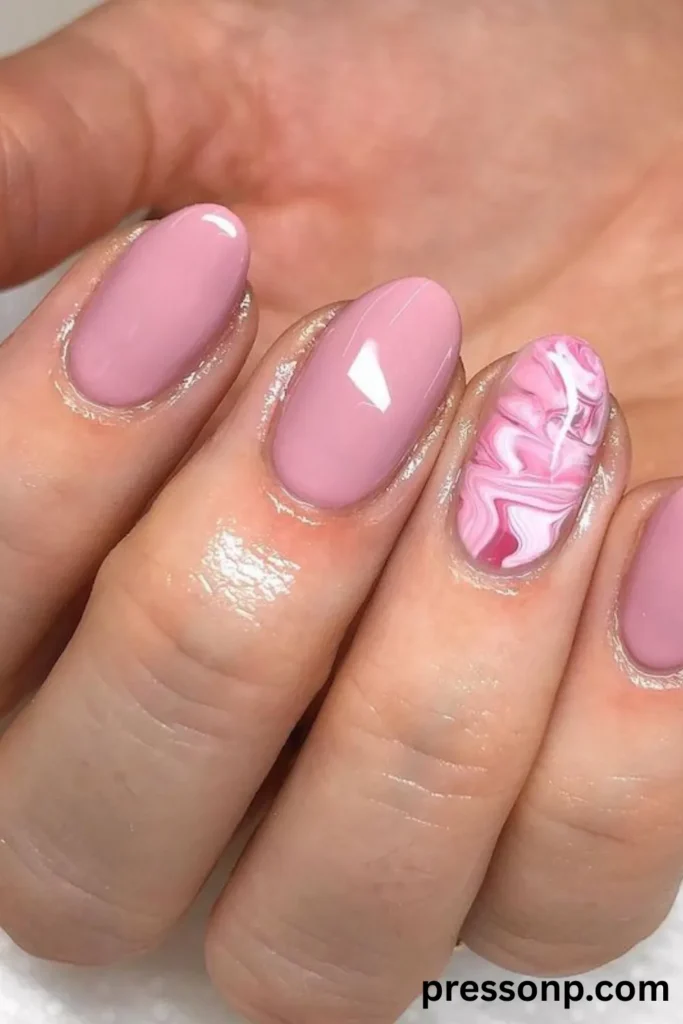
You don’t have to decorate every single finger. Pick one nail per hand (ring fingers are classic) and give it a little something special. Keep the rest simple. This is the ultimate simple summer nails for when you want cute without the chaos approach.
Accent nail ideas for natural length:
- Glitter topper: One coat of chunky glitter over a matching base.
- Thin stripe: A single gold or silver line down the center.
- Tiny heart: Use a toothpick to draw a mini heart.
- Flower sticker: Press on and seal with top coat.
Best base colors for the other nails: , soft pink, or sheer white. Let that accent nail shine.
Save-worthy tip: Keep your accent design smaller than a pencil eraser. On short nails, tiny details look precious; big ones look crowded.
06. The Easiest Fruit Slice (No Drawing Skills Required)
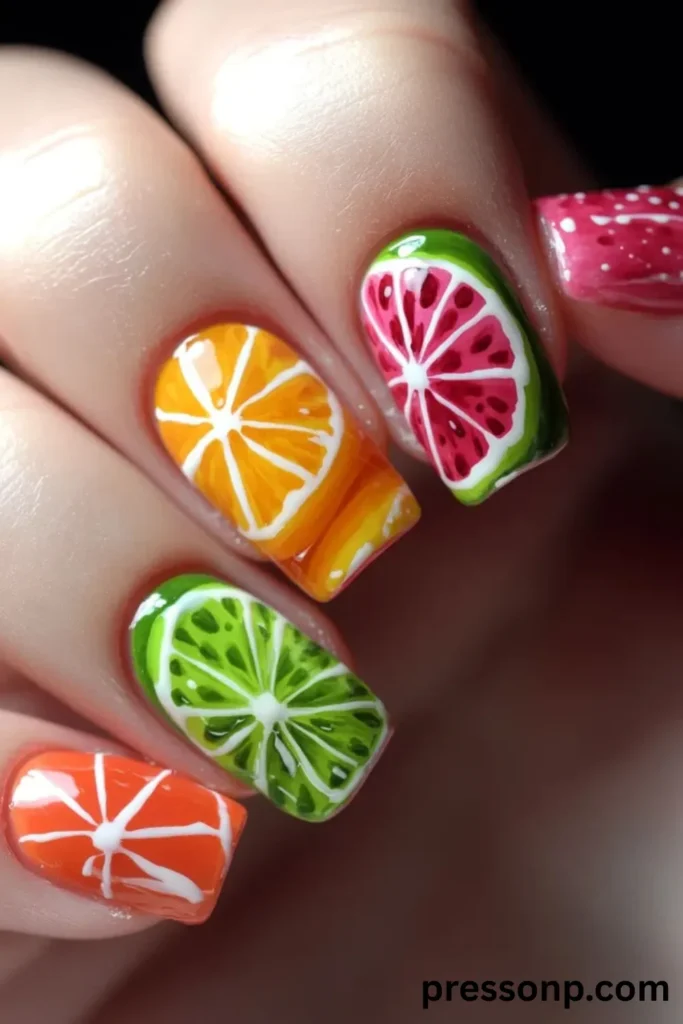
You want a fruit vibe but can’t paint a lemon to save your life. I’ve got you. Try the “confetti fruit” method using only dots and a small brush.
Kiwi slice summer nails:
- Paint your nail pale green.
- Use a white dotting tool to make a small circle in the center.
- Surround it with tiny black dots (the seeds).
- Add a thin brown line through the white center (the core).
That’s it. No perfect slices. No fancy shading. And on natural length, this tiny kiwi looks adorable and intentional.
Other fruits using the same dot method:
- Watermelon: Pink base + green tip + black dots.
- Orange: Orange base + white dots clustered together.
- Strawberry: Red base + yellow dots scattered.
Save-worthy quote: “Fruit nails don’t have to look like a botanical drawing. Dots + a little imagination = vacation on your fingertips.”
07. How to Keep Simple Summer Nails Looking Fresh Longer
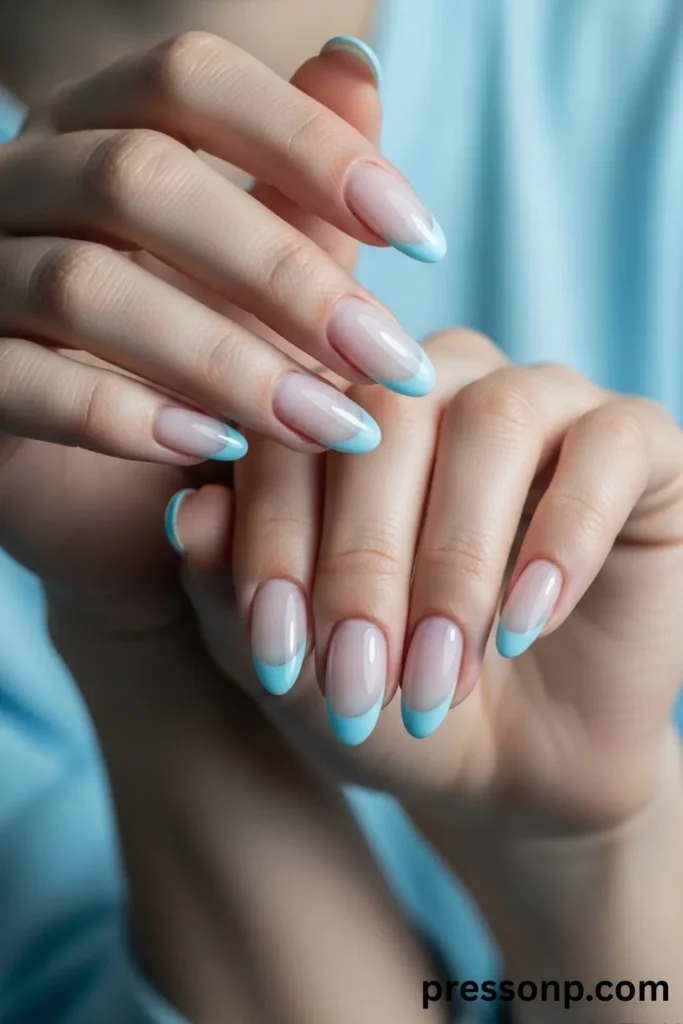
You’ve nailed the simple look (pun intended). Now let’s protect it. Even the easiest Simple Summer Nails need a little love to last through pool days, barbecues, and beach trips. And because you’re working with natural length, you have an advantage—less bending, fewer breaks.
The 3-step simplicity care routine:
- Always cap the tip: Run your top coat brush along the very edge of each nail. This seals the polish and prevents peeling.
- Reapply top coat every 2–3 days: Just a thin layer over the whole nail. It adds shine and fills tiny scratches.
- Wear sunscreen on your hands: UV rays fade polish color. A good SPF protects your skin and your manicure.
What to avoid:
- Hot showers right after painting (heat bubbles the polish).
- Using nails as tools (open cans with a spoon, please).
- Peeling off even the smallest chip—file it smooth instead.
Save-worthy tip: Keep a mini top coat in your purse or car. A 30-second swipe mid-day fixes 90% of “uh-oh” moments.
08. Mix & Match: Your Own Custom Simple Set
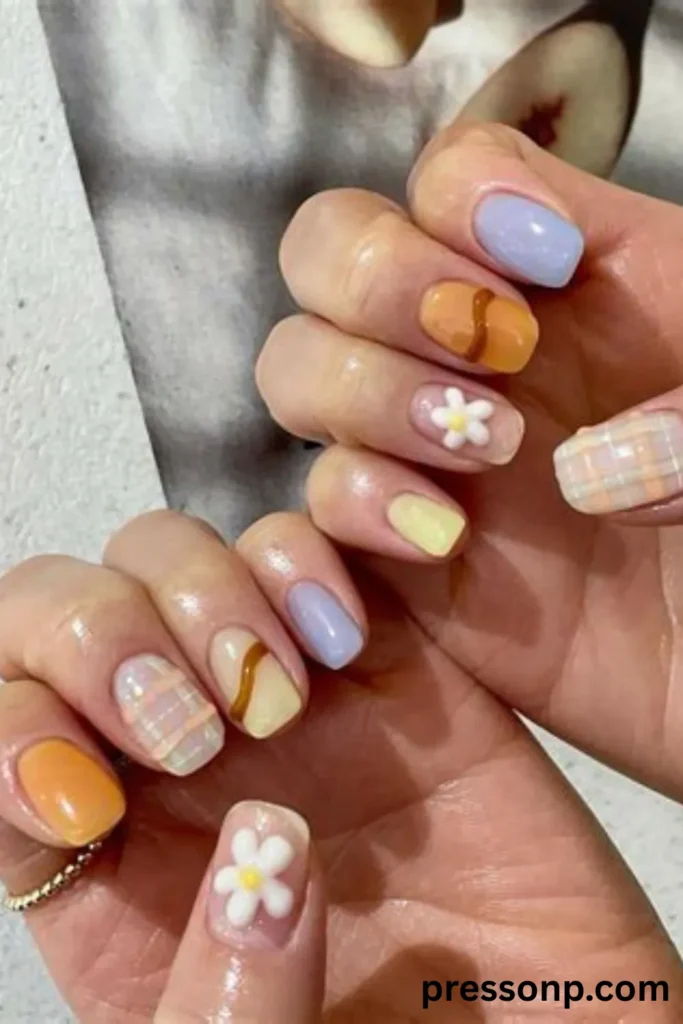
The best part of simple summer nails? You can mix and match these ideas freely. Wear a sheer shimmer on three fingers, dots on one, and a negative space on another. It still reads as cohesive because the energy is the same: easy, breezy, beautiful.
Try this starter mix for natural length:
- Index finger: Sheer shimmer (rose quartz)
- Middle finger: Single dot in neon coral
- Ring finger: Bare half-moon negative space
- Pinky: Solid pastel blue
- Thumb: One tiny heart sticker
Why mixing works: Your eye sees the overall palette and lightness, not individual “rules.” It looks curated, not chaotic.
Save-worthy quote: “Simple doesn’t mean boring. It means you get to be the boss of your own nails—no instruction manual required.”
Call to Action (CTA)
Which of these simple summer nail ideas are you trying first? Are you team dots, sheer shimmer, or negative space? I’d genuinely love to know—drop your pick in the comments below! And if you’ve got a go-to “lazy but cute” nail trick of your own, share it with the community. Don’t forget to save this post to your favorite Pinterest board so you can find it when you’re staring at your polish collection, feeling stuck. You’ve got this—cute nails, zero chaos.And if you’re hungry for more summer nail inspo, click around the blog


Pingback: Lavender Nails for Summer — Soft Hues, Strong Vibes: 7 Dreamy Ways to Wear Purple This Season - Pressonp