
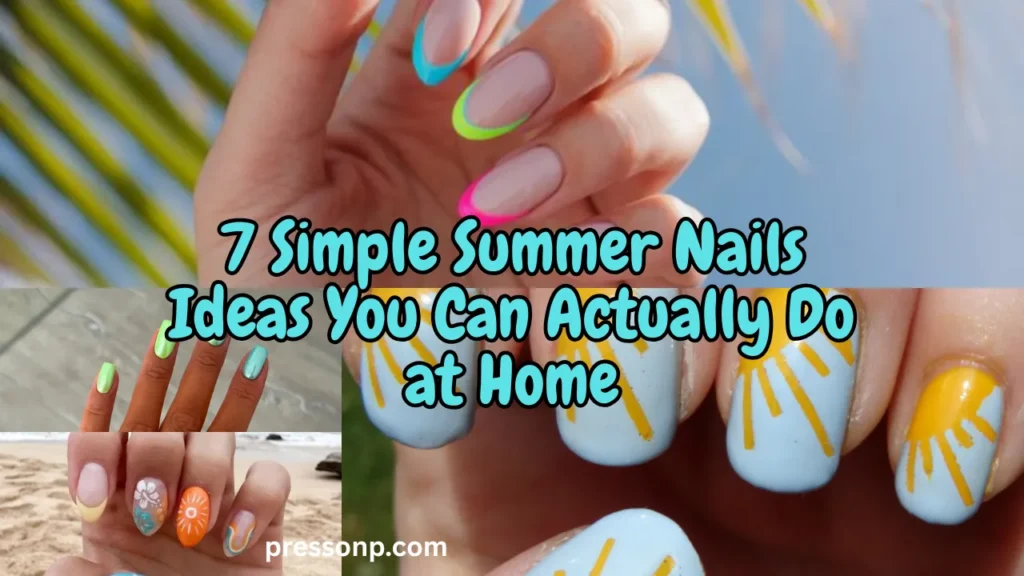
Have you ever stared at gorgeous summer nail art on Pinterest, then sighed because you thought “I could never do that at home”? I’ve been there. Between the salon appointments, expensive gel kits, and complicated tutorials, it’s easy to feel stuck. But here’s the truth: you don’t need a professional license or a drawer full of tools. 7 Simple Summer Nails Ideas You Can Actually Do at Home are right here, waiting for you.
In this guide, I’ll walk you through 7 foolproof designs that look way harder than they really are. We’re talking everyday polish, household items like toothpicks and makeup sponges, and plenty of love for your natural length nails. Ready to give yourself the cutest Simple Summer Nails Ideas on the block? Let’s dive in!
01. The Magic of Matte & Glossy Combos (2 Ideas)
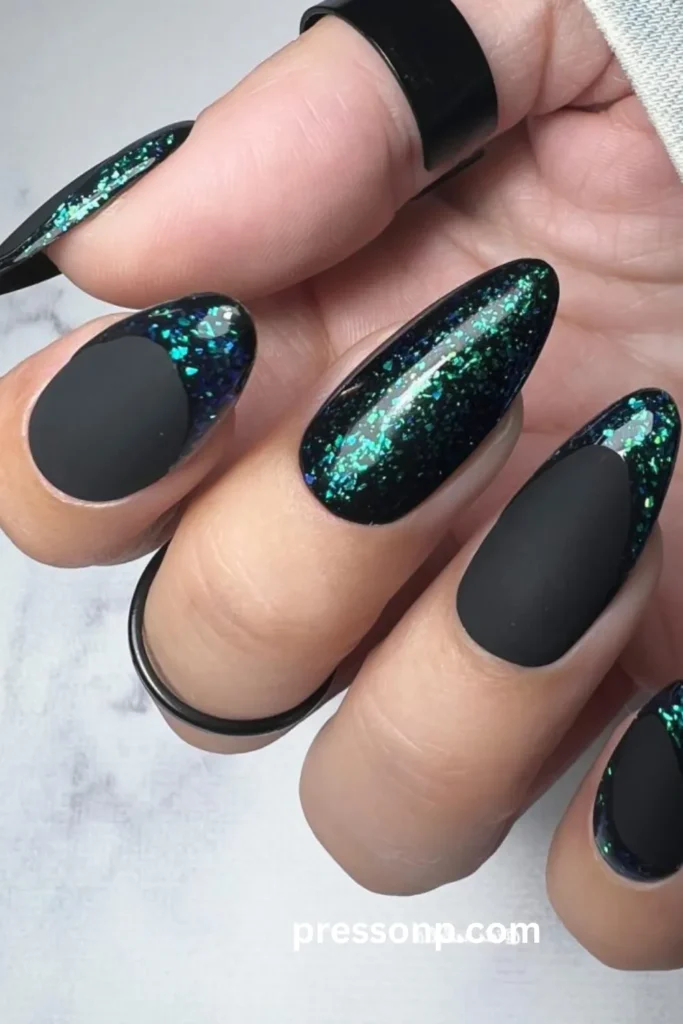
One of the easiest ways to make your Simple Summer Nails Ideas look high-end? Play with texture. You don’t need intricate art – just a matte top coat and your regular glossy polish. This trick works beautifully on natural length because texture does the heavy lifting.
Idea #1: Matte base + glossy tips
Paint your whole nail with a matte top coat over your favorite pastel (think mint green or baby pink). Then use a glossy top coat only on the very tip, like a reverse French manicure.
Idea #2: Glossy hearts on matte
Paint all nails matte . Dip a toothpick into glossy red or coral polish and dot two small circles side by side, then pull the bottom into a point. Boom – tiny hearts.
Save-worthy tip: Matte top coat hides small mistakes. If your line isn’t perfect, matte makes it look intentional.
02. Polka Dots: Your Easiest Summer Nails Entry Point (2 Ideas)
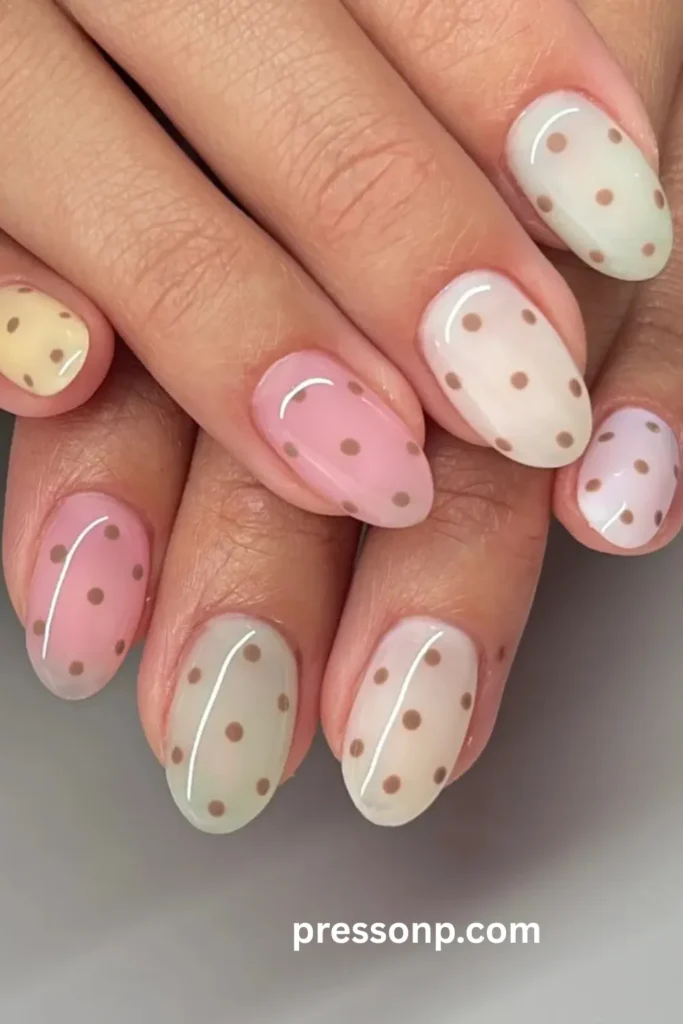
Polka dots are the gateway drug to DIY nail art. Why? Because all you need is a bobby pin, a toothpick, or the back of a small brush. They’re forgiving, fun, and perfect for Simple Summer Nails Ideas on shorter lengths.
Idea #3: Confetti dots
Paint your nails white. Then grab three bright colors (yellow, orange, pink) and dot random sizes all over. It looks like birthday confetti.
Idea #4: Single statement dot
Paint your nails a deep summer blue. Place one large white dot near your cuticle on each nail. That’s it. So chic, so simple.
For natural length: Keep dots proportional – no bigger than a lentil. One or two dots per nail is plenty.
Save-worthy quote: “Polka dots are proof that simple summer nails can still steal the show.”
03. Fruit Accents That Don’t Require a Steady Hand (3 Ideas)
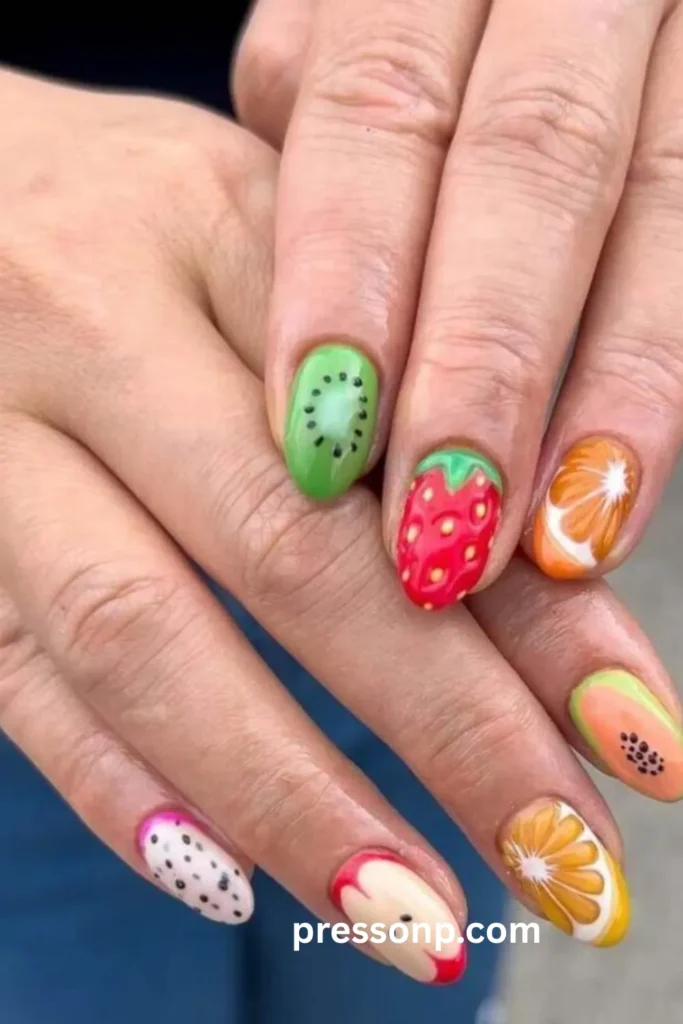
You don’t need to paint a whole fruit bowl. Just tiny, abstract accents. These three fruit designs are almost impossible to mess up, and they scream Simple Summer Nails Ideas.
Idea #5: Strawberry seeds
Paint your nails bright red. Use a toothpick to add tiny yellow or black dots all over. Add a tiny green leaf shape near the cuticle. Instant strawberry!
Idea #6: Kiwi slices
Paint your nails brown or tan. On the center of each nail, use a green dotting tool (or toothpick) to make a green circle, then add tiny black seeds inside. Looks exactly like a kiwi slice.
Idea #7: Orange segments
Paint nails pale orange. Using a thin brush or toothpick, draw 4-5 white lines radiating from the center to make orange wedge sections. Add a tiny white dot in the very middle.
Why this works on natural length: These fruits are naturally small. A single kiwi slice fits perfectly on a short nail without overcrowding.
Save-worthy tip: Work on one nail at a time. If the polish starts to dry, don’t force it – just move to the next nail.
04. Ombré with a Sponge – Foolproof on Natural Length (2 Ideas)
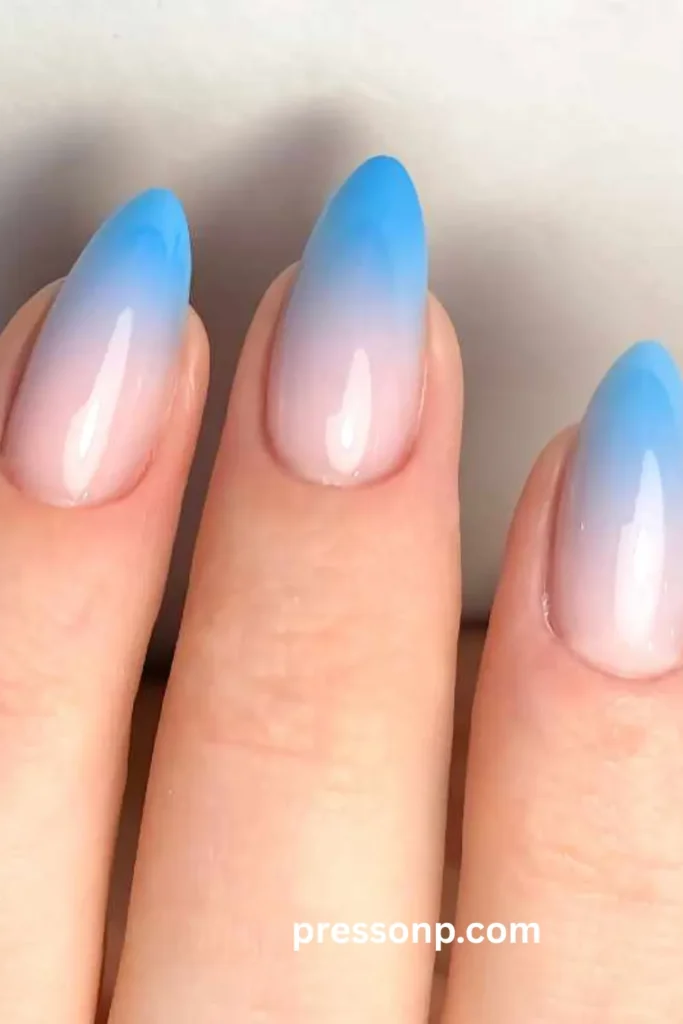
Ombré (gradient) looks like magic, but it’s actually one of the easiest Simple Summer Nails Ideas techniques. Grab a makeup sponge and two colors that blend well. Even on natural length, ombré elongates the look of your nails.
Idea #8: Sunset ombré
Paint a white base. On a sponge, dab stripes of yellow, orange, and pink. Sponge onto your nail in gentle patting motions. Repeat for depth. You’ll get a perfect sunset.
Idea #9: Beach wave ombré
Use light blue and turquoise. Sponge the gradient, then use a thin brush to add tiny white “foam” lines near the cuticle. Looks like ocean waves.
Step-by-step for ombré success:
- Wet the sponge slightly – it absorbs less polish.
- Apply polish to the sponge, not directly to your nail.
- Pat, don’t rub.
- Clean up skin with a brush dipped in nail polish remover.
Save-worthy quote: “Ombré forgives everything. Uneven blending just looks like ‘artistic texture’.”
05. Striping Tape Geometrics for Clean Lines (2 Ideas)
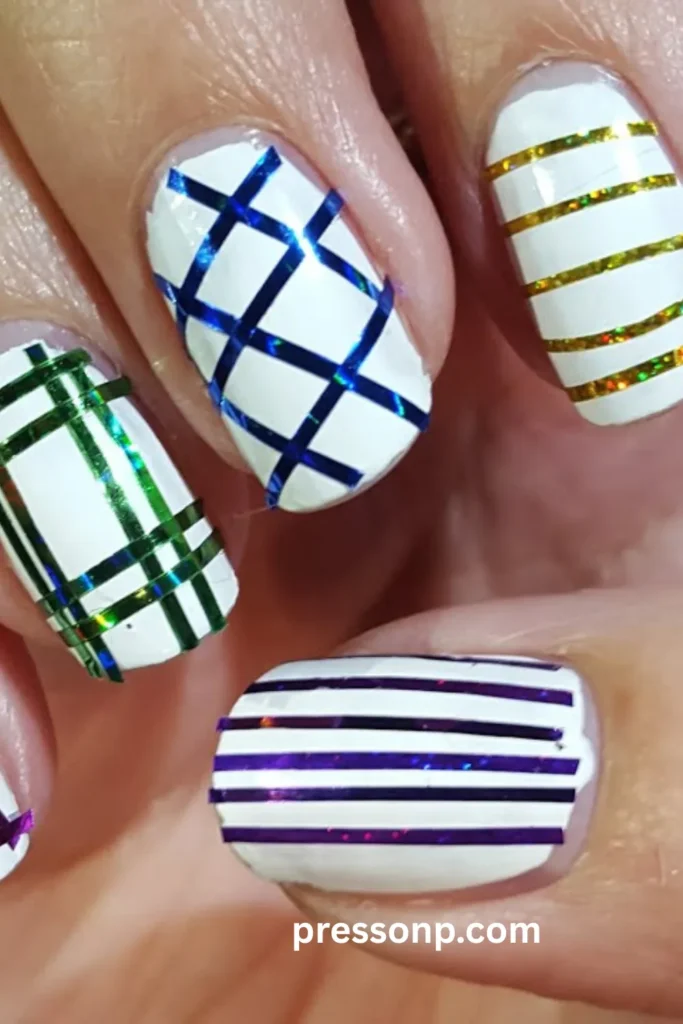
Striping tape (or even thin washi tape) gives you salon-perfect straight lines. No freehand drawing required. These designs are ideal for Simple Summer Nails Ideas when you want a modern, crisp look.
Idea #10: Color block
Paint your nails white. Let dry completely. Place striping tape diagonally across each nail. Paint the top half bright coral. Remove tape immediately. You’ll have a perfect straight line.
Idea #11: Triangle tips
Paint nails . Cut small triangles of striping tape and place them at the tips like little pennants. Paint over with a bold summer yellow, then peel off the tape. You get negative-space triangles.
Pro tip for natural length: Use thinner tape (1mm or less) so the design doesn’t overwhelm your small nail bed.
Save-worthy tip: Always pull tape off while the top color is still wet. If it dries, the tape will lift the polish.
06. Negative Space Nail Art for Minimalist Vibes (2 Ideas)
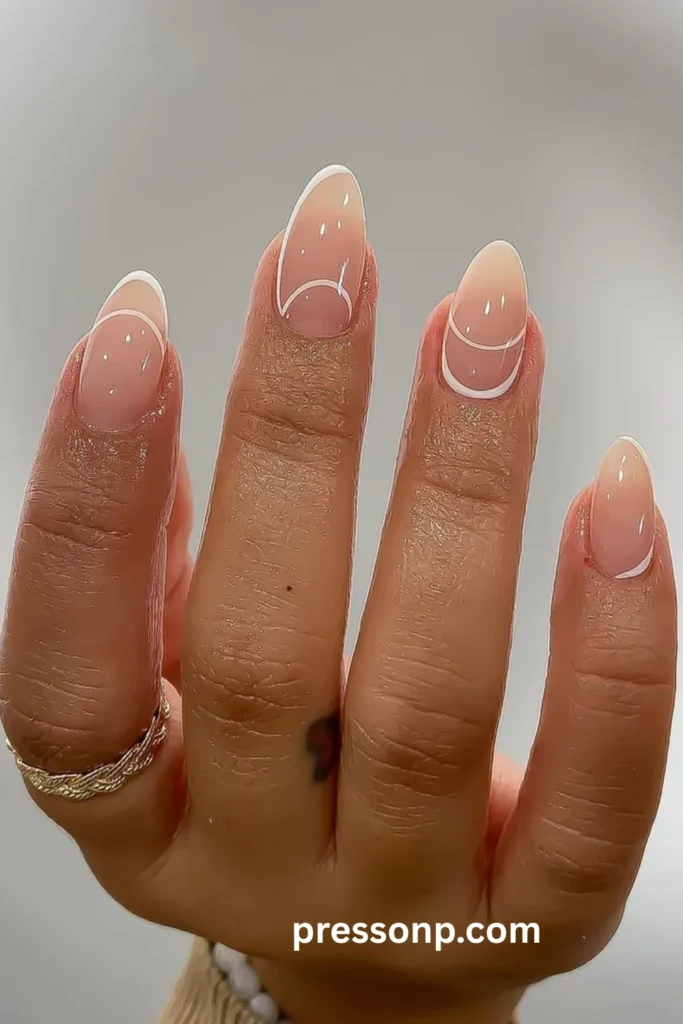
Negative space means leaving parts of your natural nail bare. It’s incredibly trendy, and it’s a lifesaver for natural length nails because you’re not covering the whole nail – less polish, less mess.
Idea #12: Half-moon bare
Paint only the tip half of your nail. Leave the bottom half (near cuticle) completely bare. Use a bright coral or fuchsia. It looks like a modern French mani.
Idea #13: Bare stripes
Apply thin strips of tape vertically. Paint over everything with a pastel green. Remove tape to reveal bare nail stripes. So fresh and clean.
Why this is perfect for summer nails: Bare nail lets your nail bed breathe, and it looks intentionally minimalist – not like you forgot to paint.
Save-worthy quote: “Sometimes the most beautiful part of your nail is the part you don’t paint.”
07. Glitter Gradient & Foil Flakes – Maximum Sparkle, Minimum Effort (2 Ideas)
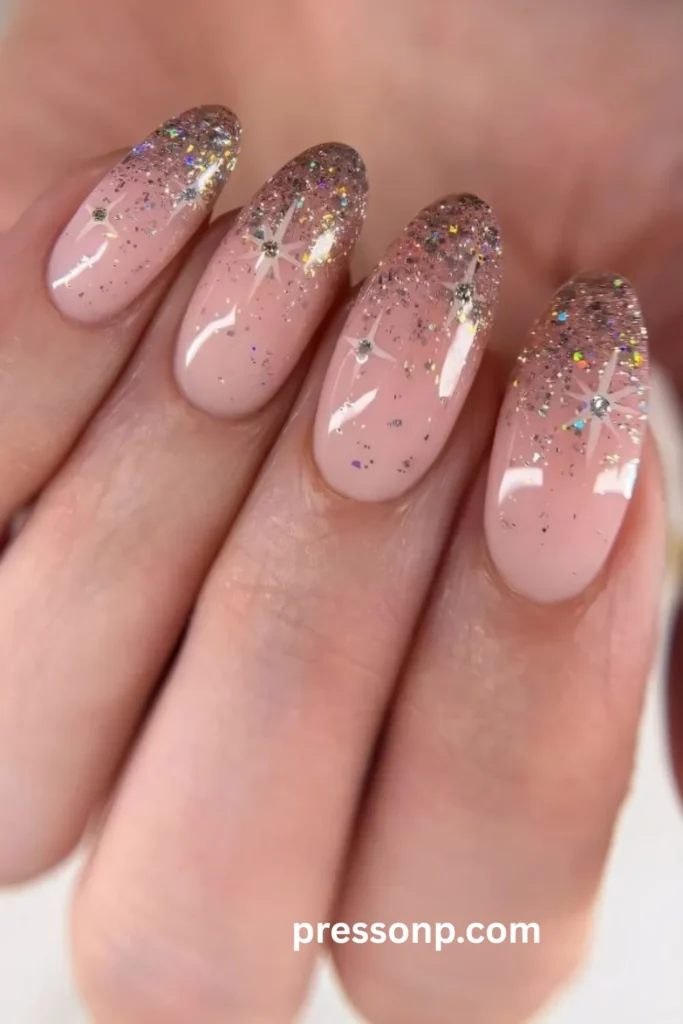
Want dazzling summer nails without any drawing? Glitter and foil flakes are your best friends. They hide mistakes, shine like crazy, and take less than two minutes per nail.
Idea #14: Glitter fade
Paint a solid base color (like soft peach). Using a sponge, dab glitter polish only on the tips. Sponge lightly as you move toward the middle for a fading effect. This works on natural length because the sparkle draws the eye upward, making nails look longer.
Idea #15: Foil flake confetti
Paint a clear or base. While it’s tacky, use tweezers to place tiny gold or iridescent foil flakes randomly. Press down gently. Top coat twice to seal.
Where to find foil flakes: They’re cheap online or at craft stores. You can even cut up metallic wrapping paper into tiny pieces.
Save-worthy tip: Use a thick, gel-like top coat over glitter. It smooths out the texture and makes it last twice as long.
Call to Action (CTA)
Okay, friend – which of these 7 simple summer nails ideas are you trying first? Are you team polka dot, ombré, or glitter fade? I’d honestly love to know. Drop your favorite in the comments below, and don’t forget to save this article to your best Pinterest board. When you recreate one of these at home, tag me so I can cheer you on. You’ve got this – no salon required!And if you’re hungry for more summer nail inspo, click around the blog


Pingback: 10 Summer Nails Ideas 2026 Square: Summer Nails Unique – 10 Standout Picks for Girls Who Don’t Do Basic - Pressonp