
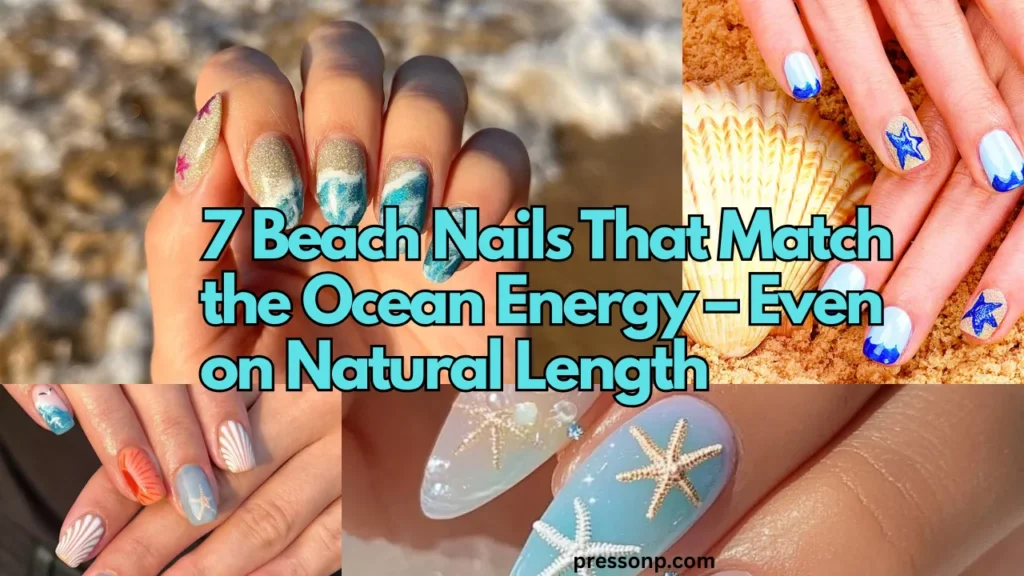
Have you ever stood at the shore, watching the water shift from turquoise to deep blue, and wished you could bottle that feeling on your nails? You want summer nails that feel fresh, cool, and alive—not just another bright pink or neon orange. But maybe you keep your nails short and practical, and you worry that “ocean nails” need long, pointy canvases.
Let me put that worry to rest. Beach Nails That Match the Ocean Energy aren’t about length. They’re about color, texture, and movement. Think soft waves, sandy gradients, and little seashell sparkles—all perfectly at home on natural length nails.
In this guide, I’ll share 7 ocean-inspired designs, pro tips for short nails, and easy techniques anyone can try. Ready to bring the coast to your fingertips? Let’s go!
01. The Ombré Wave: Blending Blues Like the Shallow Shore
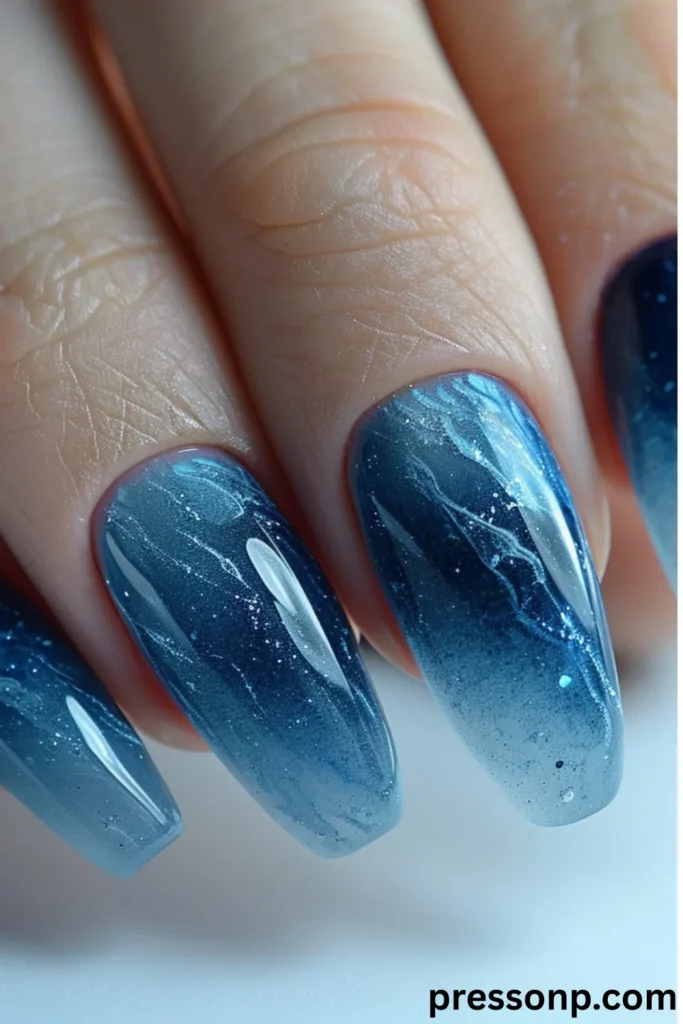
The easiest way to capture ocean energy is with a gradient. On natural length, a vertical or horizontal ombré from pale aqua to deep navy creates the illusion of deeper water—and longer-looking nails.
How to do it:
- Start with a white or light blue base.
- Use a makeup sponge to dab on three shades: seafoam, turquoise, and navy.
- Blend while still wet by dabbing lightly.
- Finish with a glossy top coat to mimic wet sand.
Why it works on short nails: The gradient moves the eye along the nail, making it appear longer. Keep the darkest color at the tip for a “depth” effect.
Save-worthy tip: For an extra pop, add a tiny dab of iridescent glitter near the cuticle. It looks like sunlight dancing on shallow water.
02. Sandy Neutrals & White Foam: Minimalist Beach Vibes
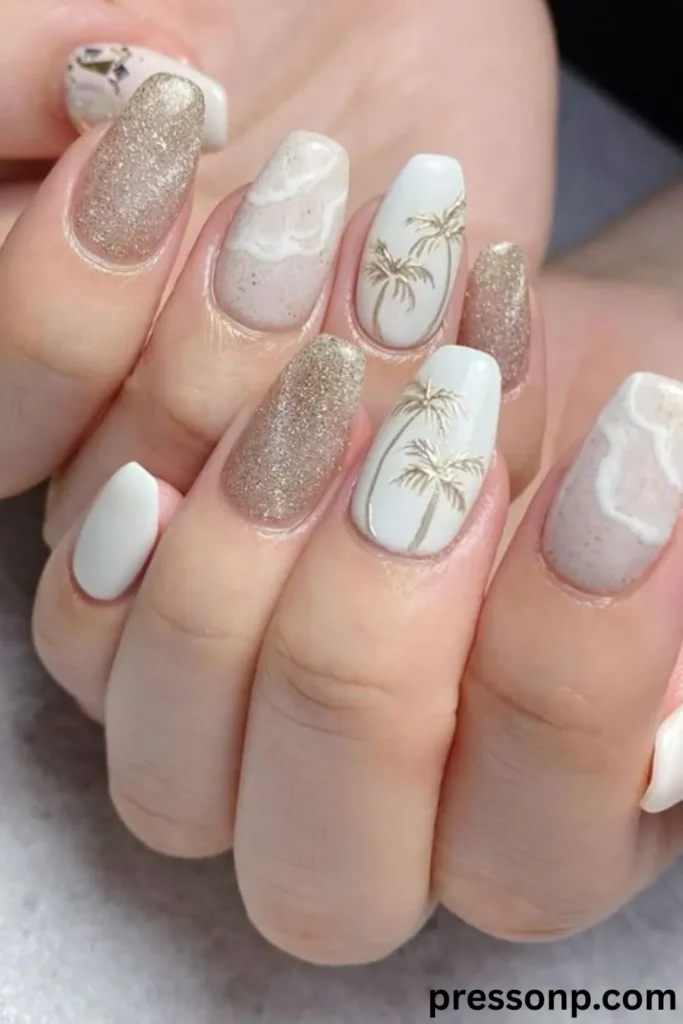
Not every beach nail needs bold blue. Sometimes the most calming ocean energy comes from sandy beige, soft cream, and foam-white swirls. This look is perfect for summer Beach Nails when you want something subtle but still thematic.
Design idea:
- Paint all nails a warm sandy (think seashell beige).
- On one or two accent nails, use a thin white polish to draw small, irregular curves along the tip—like sea foam.
- Add a tiny dot of pearlescent shimmer near the center for a wet-sand glow.
Perfect for natural length: Because there’s no heavy layering, this design lasts for days without chipping. Plus, it grows out gracefully.
Save-worthy quote: “Ocean energy isn’t always loud. Sometimes it’s the quiet whisper of foam on sand.”
03. Marble Seafoam: Swirling Greens & Blues
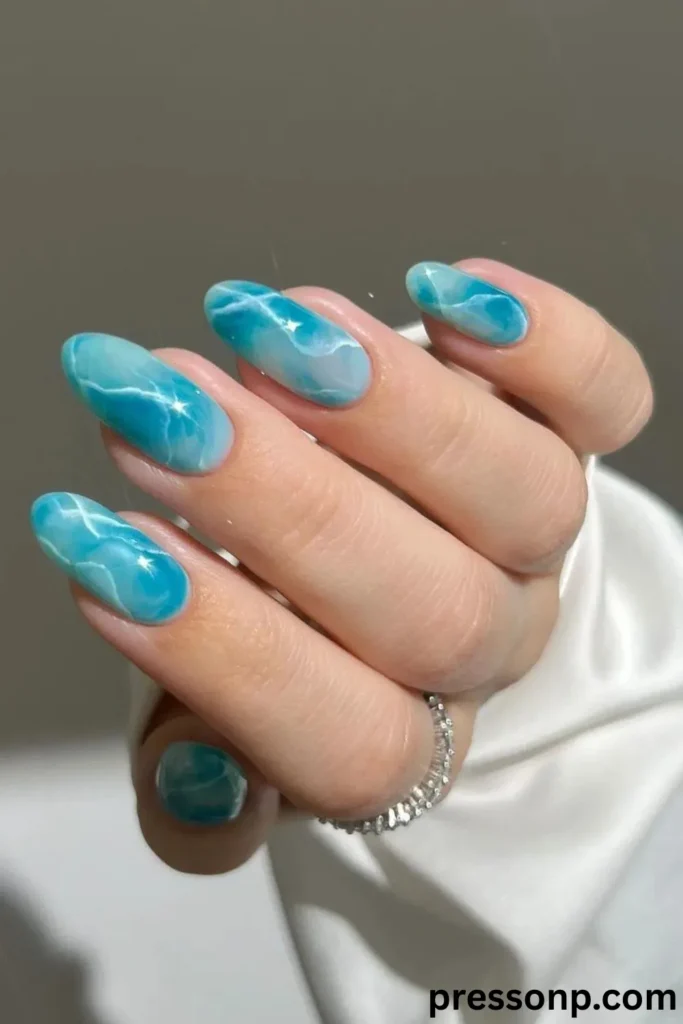
Seafoam is that magical greenish-blue color you see where waves break over rocky shores. A marble effect using seafoam, mint, and soft white looks stunning on natural length nails because the swirls don’t need a large surface.
Step-by-step marble:
- Apply a white base coat.
- Drop small pools of seafoam and light blue polish onto a silicone mat or plastic lid.
- Use a toothpick to swirl them together.
- Press your nail into the swirl, then lift and clean the edges.
No mess alternative: Use a thin liner brush to paint wavy, intersecting lines in two shades. It doesn’t have to be perfect—chaotic waves are more realistic anyway.
Save-worthy tip: Add a single tiny gold foil flake to one nail. It looks like a piece of sunken treasure.
04. Shell & Starfish Accents: Tiny Treasures for Summer Nails
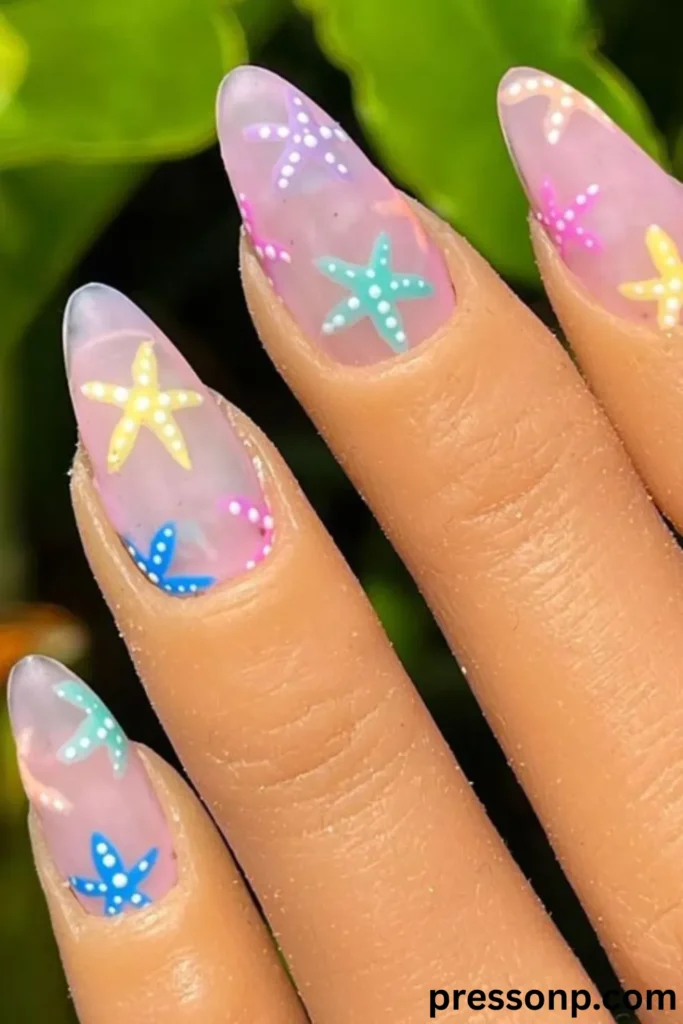
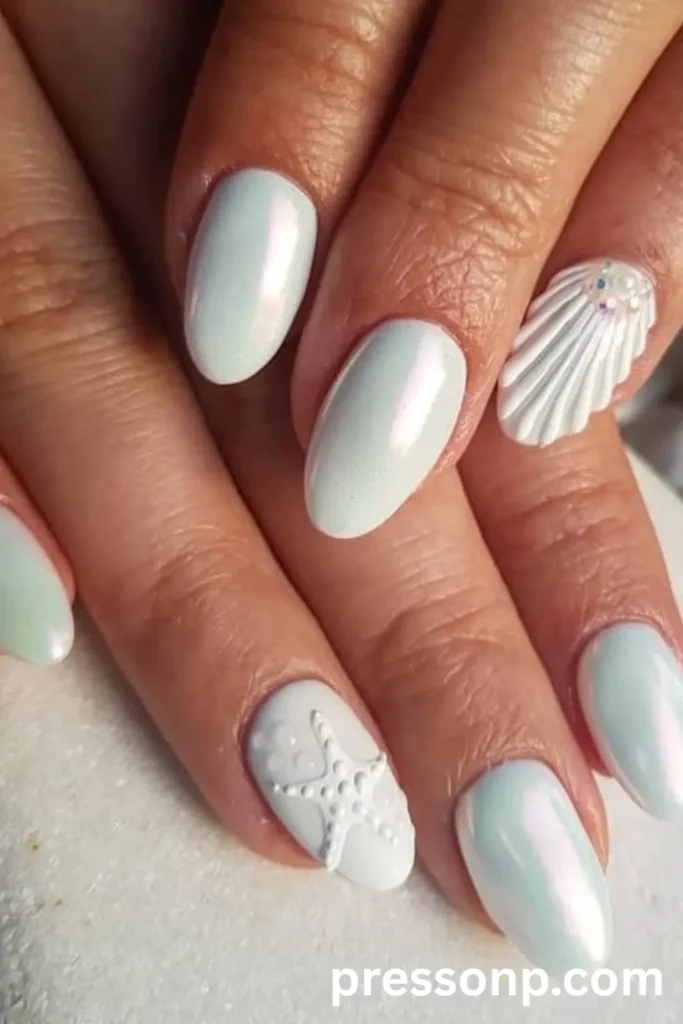
You don’t need long nails to rock 3D or flat decals. For summer Beach Nails that celebrate the ocean floor, try one tiny shell or starfish on your ring finger. Keep the rest of your nails a soft pearl or pale coral.
How to place accents on natural length:
- Use nail glue for small flat-backed shell charms (less than 3mm wide).
- Or paint your own: a five-point starfish using orange polish and a dotting tool.
- Place the accent near the cuticle or at the sidewall—never right in the center, which can look bulky.
Why this works: A single treasure draws attention without overcrowding your short nail canvas. It’s like finding one beautiful shell on a long beach walk.
Save-worthy quote: “On short nails, one perfect accent speaks louder than ten busy ones.”
05. Deep Blue Crush: Navy & Teal with a Glossy Finish
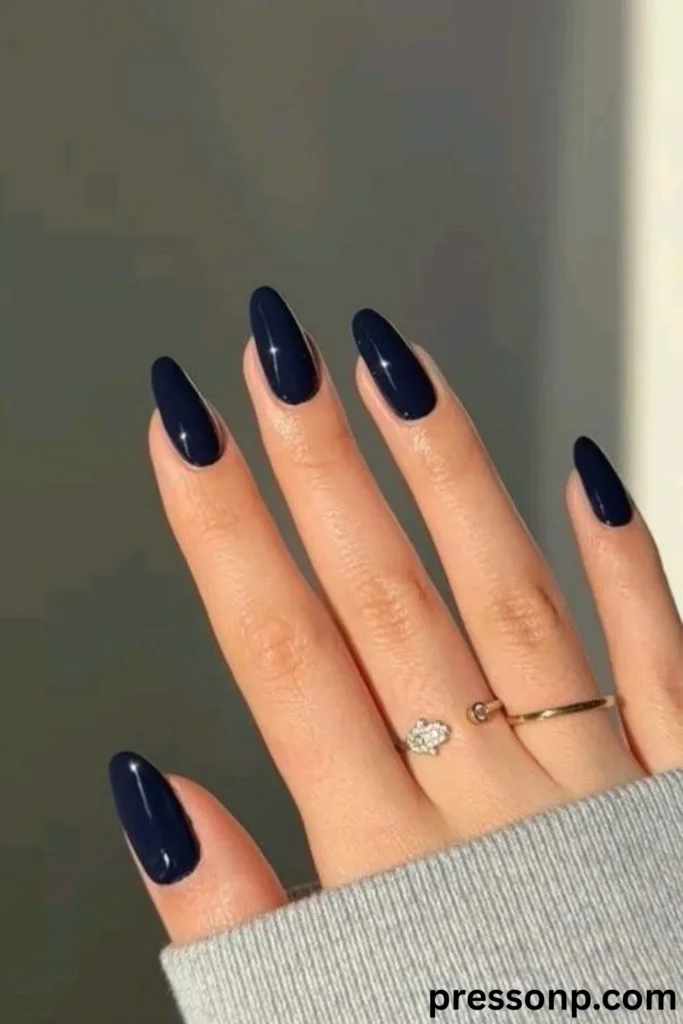
Sometimes you want the energy of the deep ocean—mysterious, powerful, and cool. A solid deep navy or teal is incredibly flattering on natural length because dark colors make the nail bed recede visually, which can actually make short nails look more elegant.
Level it up:
- Apply two coats of rich navy or deep teal.
- Add a single line of holographic glitter down the center of each nail (like a beam of moonlight on water).
- Top with a high-shine gel-like top coat.
Pro tip for summer nails: Dark colors can feel heavy for summer, so balance them with a bright pedicure or a single bright pink accent nail. The contrast feels fresh.
Save-worthy tip: Use a matte top coat on the navy, then paint a thin silver wave on top. The texture difference is mesmerizing.
06. The “Broken Glass” Ocean: Iridescent Shards
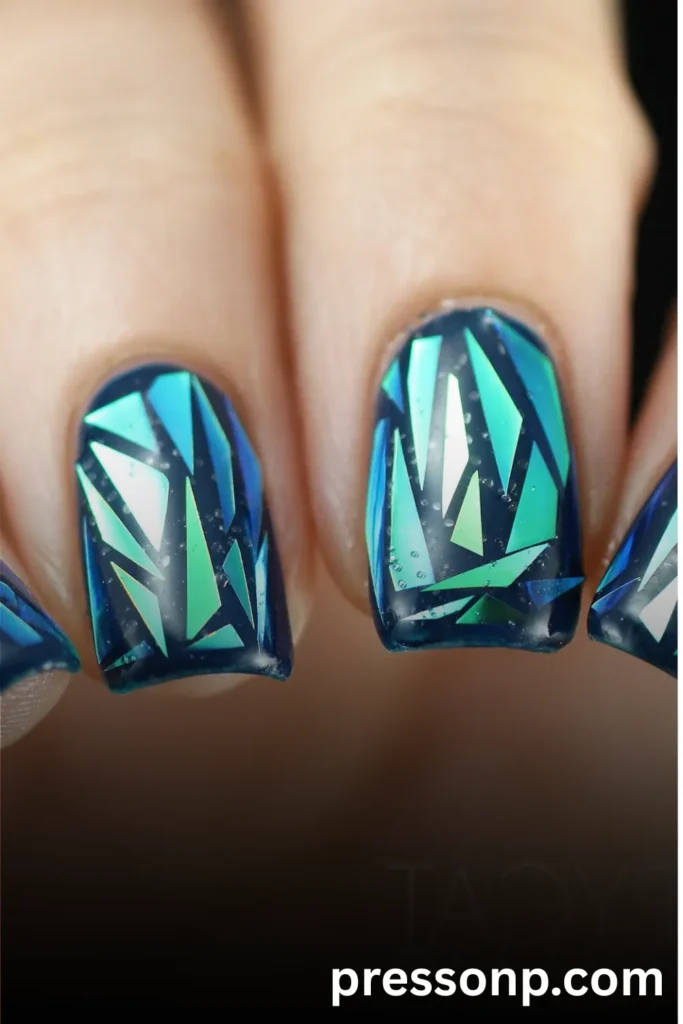
Have you seen those nail designs that look like pieces of shattered, shiny glass? When done with blue-green iridescent film, they mimic sun hitting choppy ocean water. And yes—it works beautifully on natural length because each “shard” is tiny.
What you need:
- Iridescent cellophane flakes or “glass nail” film (sold online)
- A dark blue or black base coat
- Nail glue or gel top coat to seal
Application for short nails:
Paint your base dark blue. While tacky, press tiny flakes randomly onto the nail. Leave some bare space so it doesn’t look crowded. Then seal with two layers of thick top coat.
Save-worthy quote: “Your nails don’t need to be long to look like the ocean’s surface. A few glass shards do the trick.”
07. Natural Length Love: How to Keep Your Beach Nails From Chipping
You’ve created gorgeous Beach Nails That Match the Ocean Energy. Now let’s keep them vacation-ready. Natural length nails have an advantage—they bend less, so polish sticks longer if you prep right.
The beach-proof routine:
- Dehydrate your nail plate with alcohol before base coat. Oils = chips.
- Use a flexible rubber base coat – it moves with your natural nail.
- Thin coats only – thick polish peels off in one sheet.
- Cap the free edge – run the brush along the tip of each nail.
- Reapply top coat every 2–3 days – especially before swimming or applying sunscreen.
Extra love for summer: Saltwater can dry out cuticles. Keep a tiny cuticle oil pen in your beach bag and apply nightly.
Save-worthy tip: After a day in the ocean, rinse your nails with fresh water and pat dry. Salt crystals left on polish can eat through top coat faster.
Call to Action (CTA)
Which ocean energy speaks to you most—the calm sandy foam, the deep navy mystery, or the playful seafoam marble? I’d love to hear your pick in the comments! And if you’re dreaming of your next beach vacation, save this article to your Pinterest board so you can paint these summer Beach Nails before you go. Tag me when you do—I want to see your ocean vibes.And if you’re hungry for more summer nail inspo, click around the blog


Pingback: 7 Ways to Rock Cute Summer Nail Art for Every Mood and Moment – From Lazy Days to Date Nights - Pressonp