
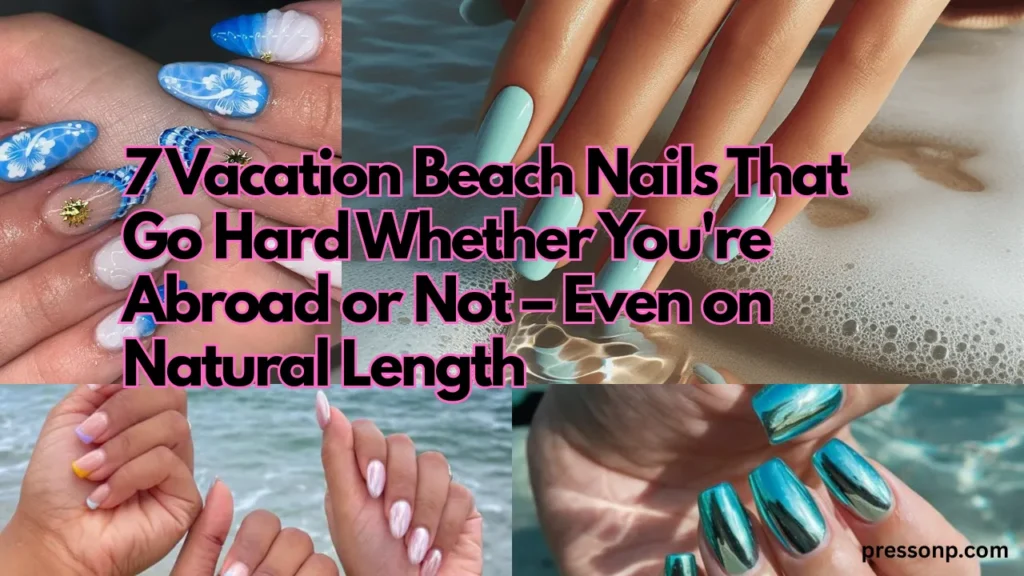
Are you dreaming of turquoise water and sandy toes, but your actual summer plans involve a staycation in your own backyard? Or maybe you are heading to the coast, but you want nails that can survive sunscreen, saltwater, and spontaneous volleyball games. I’ve been there. Let me introduce you to vacation beach nails that go hard whether you’re abroad or not. These designs are loud, proud, and made to last-no passport required.
In this guide, I’ll share 7 fierce beach nail ideas, pro tips for making them stay put, and show you why summer nails can absolutely shine on natural length. Ready to bring the vacation vibe to your fingertips? Let’s dive in.
01. Electric Ocean Blue: The Ultimate Statement
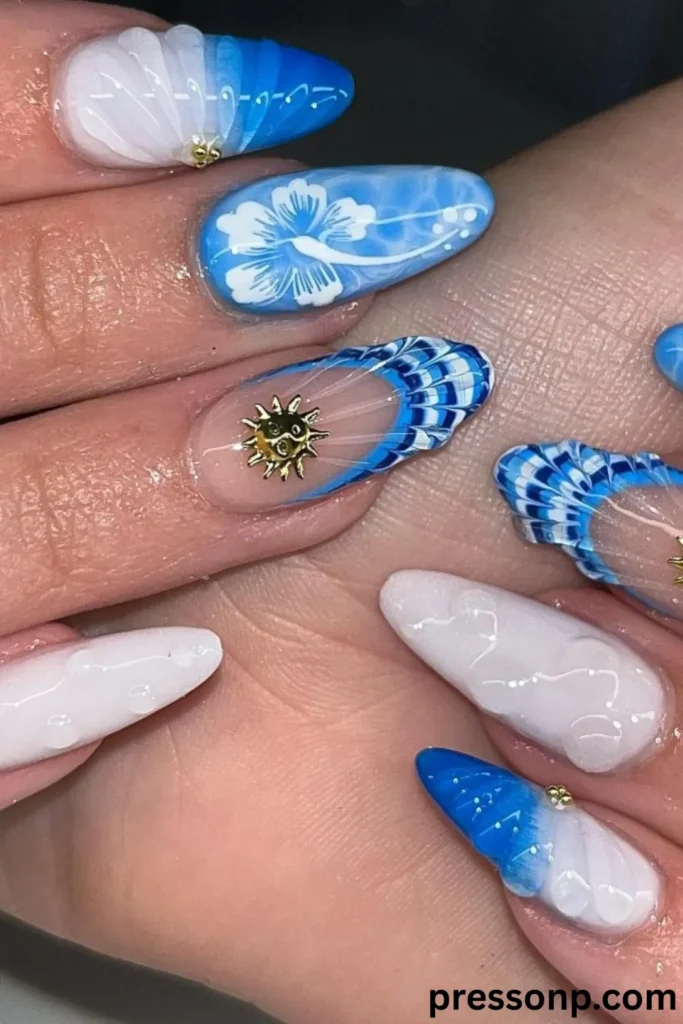
Nothing says “beach please” like a deep, electric blue. Think the color of a tropical wave at noon. Vacation beach nails that go hard whether you’re abroad or not start with a bold, unapologetic blue that works just as well on your patio as on a Caribbean shore.
How to rock it on natural length:
- Paint all nails electric blue, then add a single shimmer or glitter accent nail.
- For extra edge, paint a white wave line near the cuticle on one nail.
- Keep nails short and square-this color pops harder on natural length because the shape stays tidy.
Why it works: Blue contrasts beautifully with tan skin and looks killer in photos. Even if your “vacation” is a picnic at the local park, these nails scream summer.
Save-worthy tip: Use a gel-like top coat for a glassy finish. It mimics wet ocean shine and makes your summer nails look expensive.
02. Seashell & Sand Textures: 3D Beach Vibes
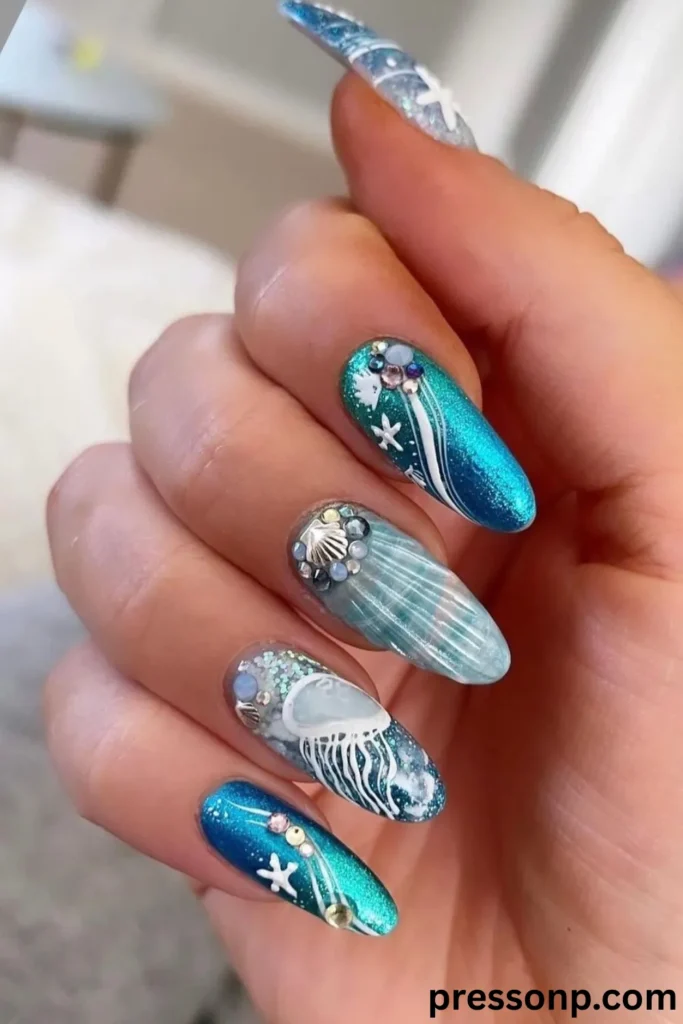
Want something that feels like the beach between your fingers? Textured nails are having a moment. Try a sandy base with tiny pearl or shell embellishments. These vacation beach nails that go hard whether you’re abroad or not add dimension without needing length.
Easy texture tricks for natural length:
- Mix a pinch of fine white or gold glitter into a clear top coat for “sand.”
- Apply a matte base, then dot on tiny white “shell” shapes using a toothpick.
- Add one small pearl sticker near the cuticle on your ring finger.
Pro tip: Keep embellishments low-profile. Flat-backed pearls or micro beads won’t catch on hair or clothes. Perfect for natural length because they don’t overpower the nail.
Save-worthy quote: “Your nails don’t need to leave the country to feel like a seashell collector’s dream. One pearl, some sand texture, and you’re there.”
03. Neon Coral & Palm Leaf Combo
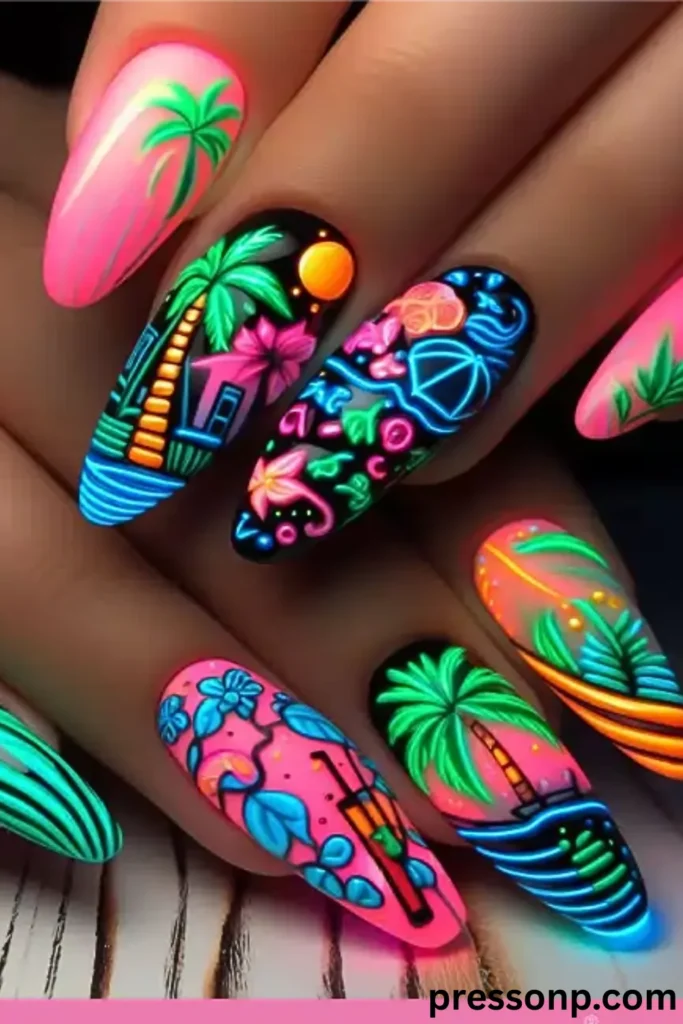
Coral is the color of summer sunsets. Pair it with hand-painted or stamped palm leaves, and you’ve got summer nails that demand attention. Even on natural length, this combo works because the leaf can be drawn vertically, elongating the nail.
Step-by-step palm leaf on a coral base:
- Paint your nail neon coral (two thin coats).
- Using a thin green brush, draw a curved line from the bottom side to the tip.
- Add small slanted strokes off the main line to create fronds.
- Keep leaves to one per nail, on just 2-3 fingers.
Don’t have a detail brush? Use a palm leaf nail sticker over the coral base. Seal with top coat. Instant tropical.
Save-worthy tip: For natural length, draw the palm leaf diagonally across the nail. It creates a lengthening effect that looks amazing in beach photos.
04. How to Make Beach Nails Survive Sunscreen & Salt
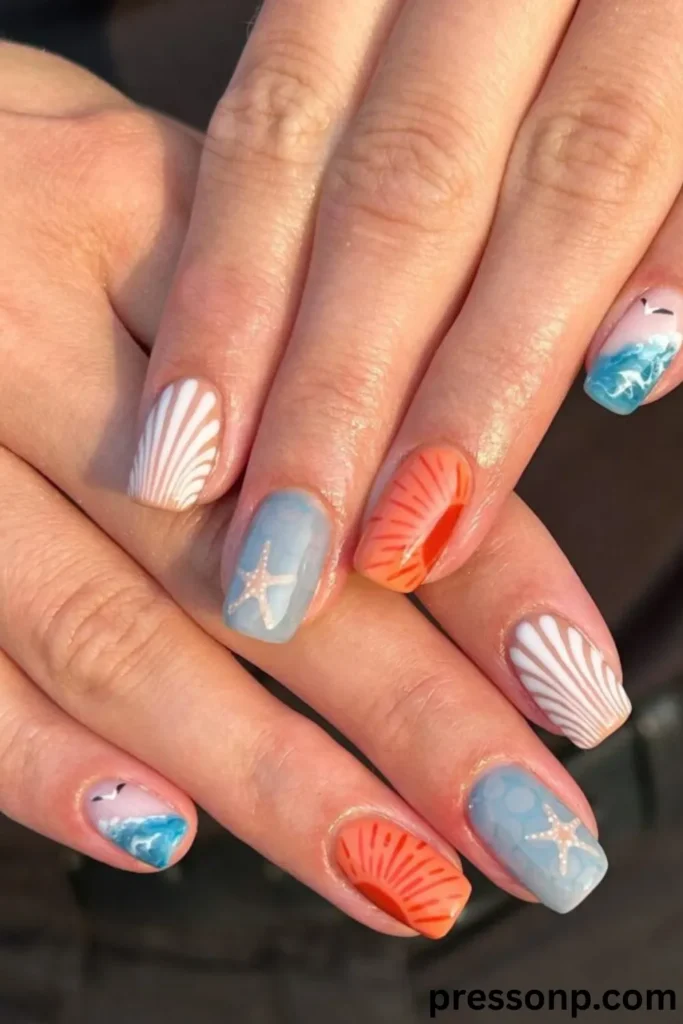
You want vacation beach nails that go hard whether you’re abroad or not-which means they need to be tough. Sunscreen, chlorine, and saltwater are nail polish killers. Here’s how to armor your summer nails so they last through real beach days (or hardcore poolside lounging).
The beach-proof routine:
- Start with a dehydrator (rubbing alcohol works) before your base coat.
- Apply a sticky rubber base coat – it grips your natural length nail.
- Use thin coats of color – thick polish peels in water.
- Wrap the tip – run polish along the free edge of each nail.
- Apply two layers of top coat – wait 2 minutes between layers.
- Reapply top coat every evening during beach trips.
Extra armor: Bring a small bottle of top coat in your beach bag. One quick swipe after swimming seals everything.
Save-worthy quote: “The difference between a beach day and a nail-pocalypse is two coats of top coat. Don’t skip it.”
05. Starfish & Anemone Accents for Natural Length
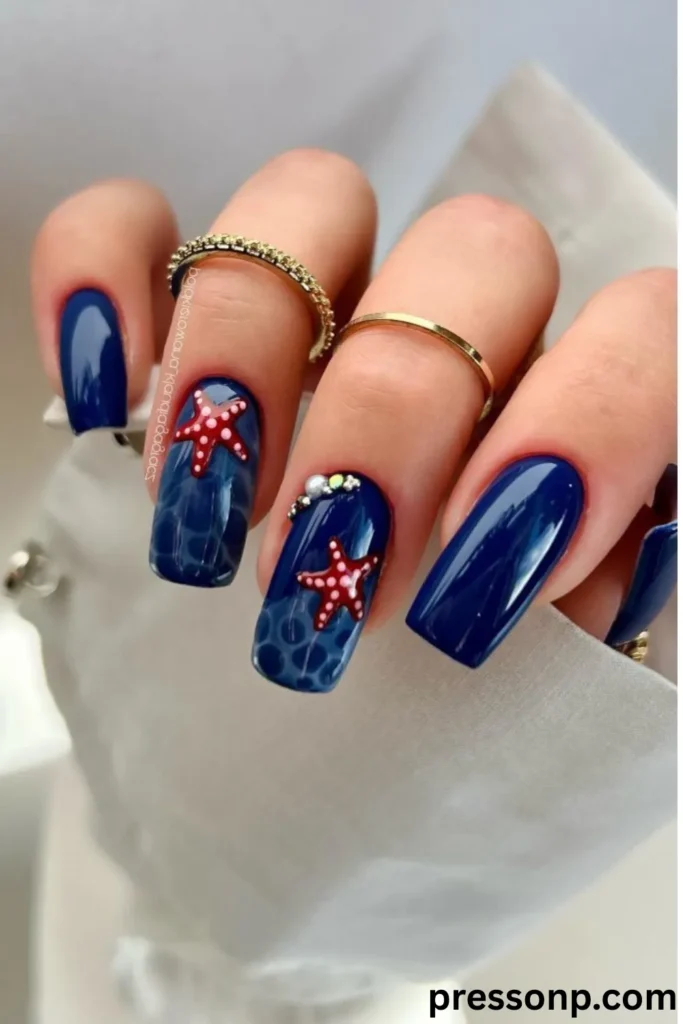
You don’t need long nails to rock intricate sea life. Starfish and sea anemones are naturally small, so they fit perfectly on natural length. These vacation beach nails that go hard whether you’re abroad or not feel whimsical and unique.
How to create a mini starfish:
- Paint a or pale blue base.
- Using a dotting tool or toothpick, place five orange or red dots in a star shape.
- Connect the dots with a thin line to form the starfish arms.
- Add tiny white dots on the arms for texture.
Anemone hack: Use a small striping brush to paint wavy purple or pink lines that radiate from a central dot. It looks like a sea anemone waving in the current.
Save-worthy tip: Place your starfish off-center near the cuticle or tip. On short nails, a single small accent draws the eye without crowding.
06. The “No Passport” Challenge: Staycation Nail Art
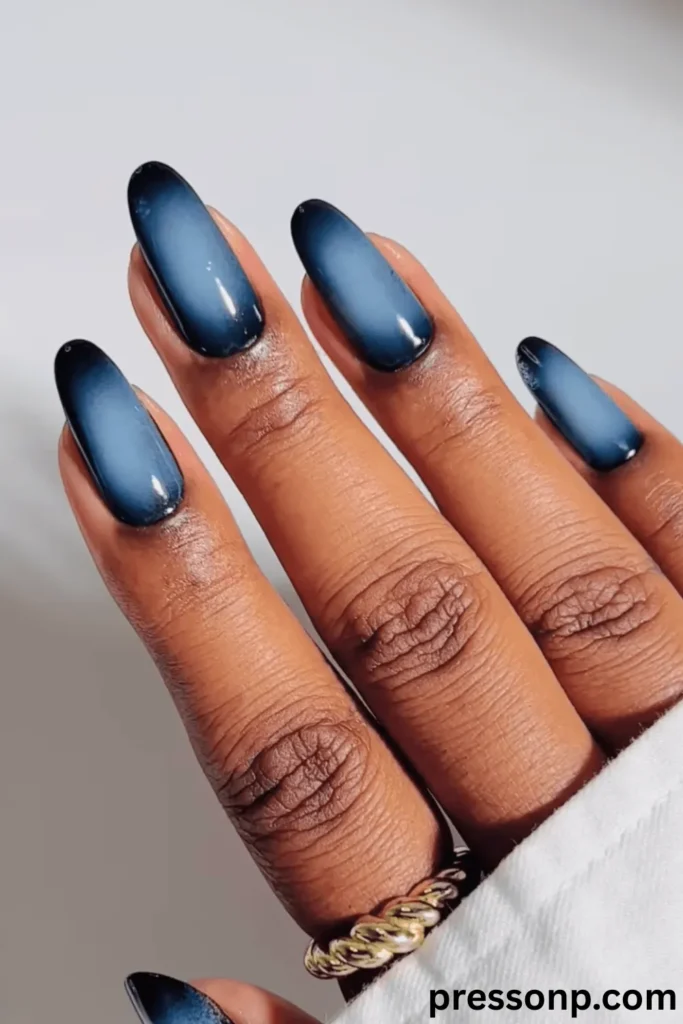
Who says you need a flight to have a beach vacation? Vacation beach nails that go hard whether you’re abroad or not are perfect for staycations. Design a full set that tells the story of your dream beach day, right from your living room.
Staycation beach nail story (5 nails, one theme):
- Thumb: Tiny umbrella drink (brown for the drink, red/white for the umbrella).
- Index: Waves (white and light blue curved lines).
- Middle: Sun (yellow circle with orange rays).
- Ring: Beach towel (stripes in bright colors).
- Pinky: Flip flop (two tiny brown lines with a thong shape).
Why this works on natural length: Each element is a small symbol, not a full scene. Your summer nails become a mini comic strip of beach joy.
Save-worthy quote: “A staycation with beach nails hits different. You’re not just at home-you’re anywhere you want to be.”
07. Maintaining Your Beach Nails After the Waves
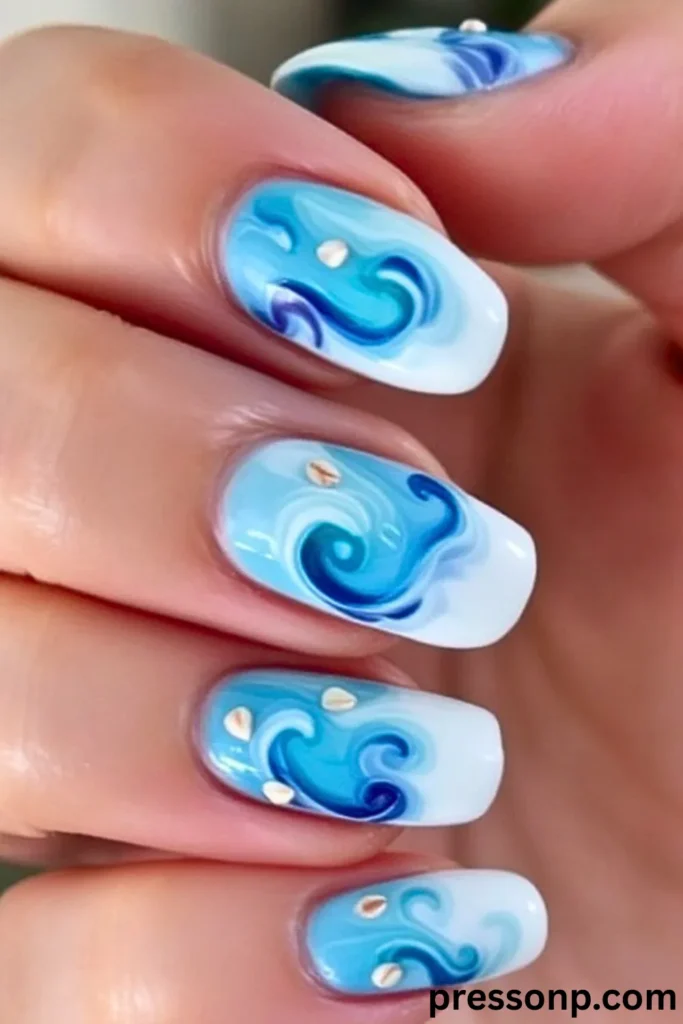
You’ve created gorgeous summer nails. You’ve hit the beach (or the backyard sprinkler). Now it’s time for aftercare. Even vacation beach nails that go hard whether you’re abroad or not need a little love post-splash.
Quick post-beach nail care:
- Rinse your hands with fresh water immediately after salt or chlorine.
- Pat dry-don’t rub. Rubbing lifts the polish edges.
- Apply cuticle oil. Salt water dries out cuticles fast.
- Check for chips. If you see one, dab a tiny bit of matching polish over it, then top coat.
For natural length lovers: Your nails are actually tougher than long acrylics in water. Embrace that! Short nails flex less, so polish adheres longer.
Save-worthy tip: Keep a mini nail repair kit in your bag: small polish bottle, top coat, and cuticle oil. Two minutes of care saves your whole design.
Call to Action (CTA)
Which of these beach nail ideas is calling your name? Are you team Electric Ocean Blue or team Starfish Accents? Drop your favorite in the comments-I read every single one! And if you’re saving this for your next mani (staycation or real vacation), pin it now so you don’t lose it. Tag me when you recreate these looks. Let’s make every day feel like the beach!And if you’re hungry for more summer nail inspo, click around the blog


Pingback: 7 Simple Summer Nails Ideas You Can Actually Do at Home – No Fancy Tools Required! - Pressonp