
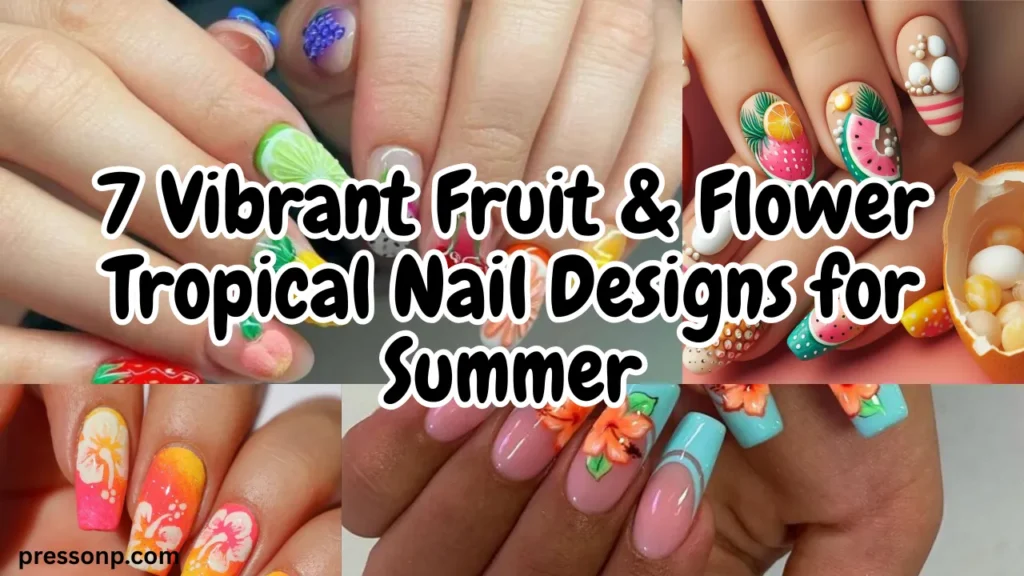
Are you staring at your bare nails, wishing for a summer vibe but feeling stuck with the same old solid pink or coral? You want something fun, fresh, and eye-catching-but you also don’t want to glue on long acrylics that get in the way of daily life. I’ve got great news: Fruit & Flower Tropical Nail Designs for Summer are your answer. They’re playful, colorful, and surprisingly easy to wear even on shorter, natural nails.
In this guide, I’ll walk you through 10 gorgeous design ideas, share pro tips for making them last, and show you exactly why Fruit & Flower Tropical Nail don’t need length to look stunning. Let’s dive in!
01. Why Fruit + Flower Tropical Nails Are the Ultimate Summer Mood
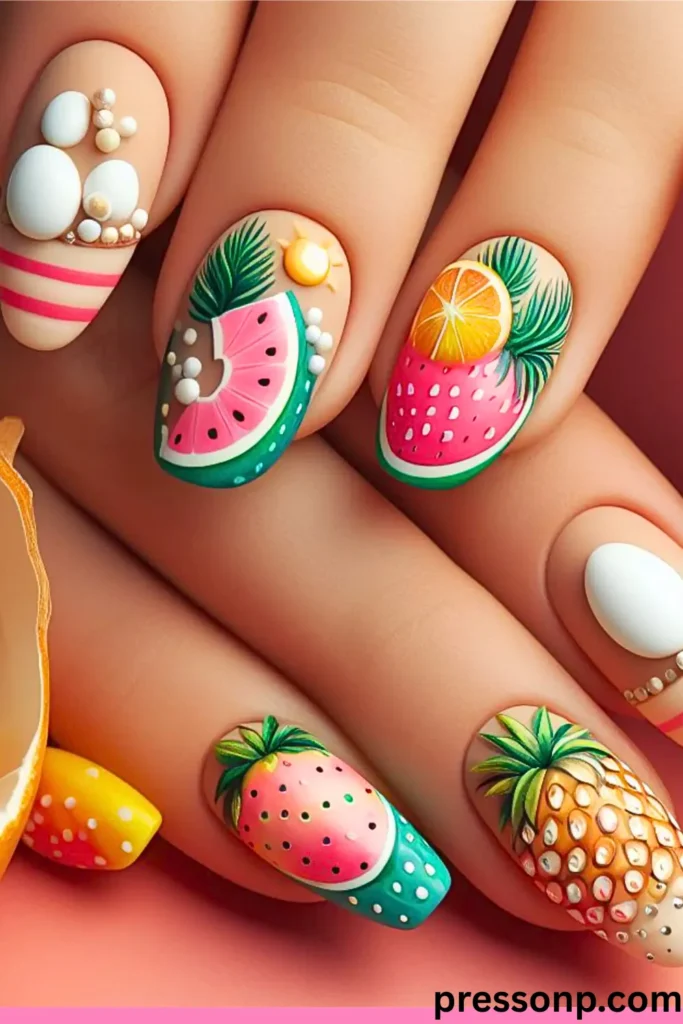
There’s something magical about combining juicy fruits with bold tropical blooms. It’s like painting a mini vacation on your fingertips. And the best part? These designs work beautifully on natural length nails because the details are scaled down.
- Fruits add a pop of bright color (think mango orange, lemon yellow, kiwi green).
- Flowers bring softness and contrast (hibiscus, plumeria, tiny daisies).
- Together, they create a balanced, happy look that screams summer.
Save-worthy tip: Keep your base coat sheer . It makes fruits and flowers stand out without overcrowding short nail beds.
02. Pineapple Perfection: Sweet Yellow Accents for Summer Nails
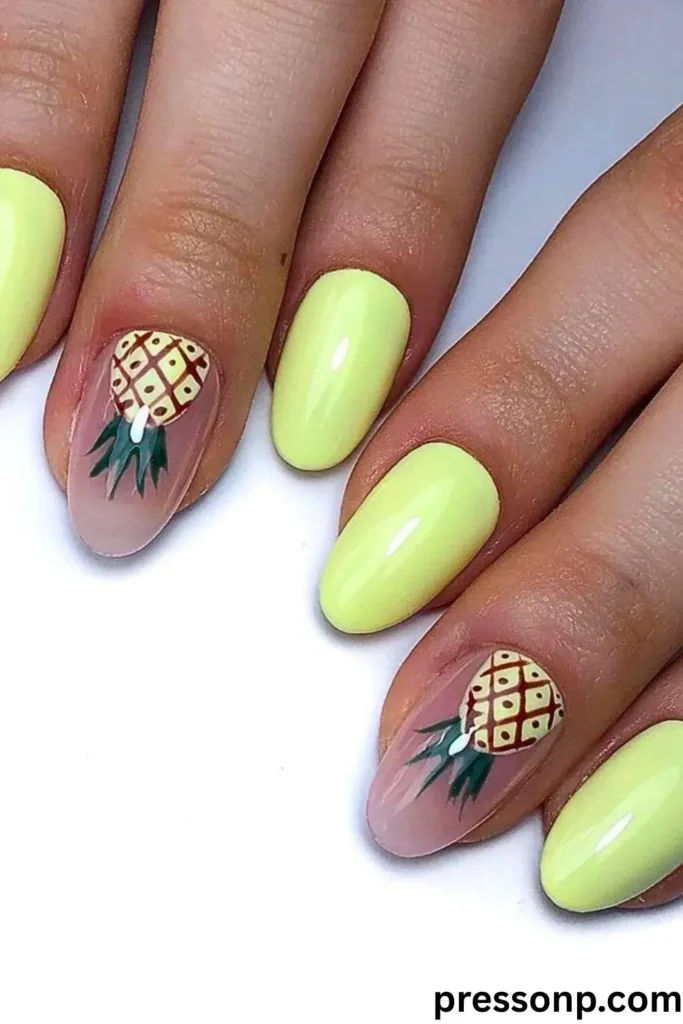
Pineapples are the queen of tropical fruits. But you don’t need a full pineapple painting on every nail. For Fruit & Flower Tropical Nail that stay elegant, try a pineapple accent on your ring finger or thumb. Use a sunny yellow polish and a thin brush to create the diamond pattern, then add a tiny green crown.
On your other nails, paint a soft cream or pale pink with one or two small white flowers. This keeps the look airy and natural length friendly-no crowding.
Quick how-to for beginners:
- Apply yellow polish only on the accent nail.
- Use a toothpick or dotting tool to make the crisscross texture.
- Finish with a glossy top coat.
Save-worthy tip: If freehand drawing scares you, use fruit nail stickers! Just seal them with top coat for a professional finish.
03. Hibiscus Blooms: Bold Florals That Pop on Natural Length
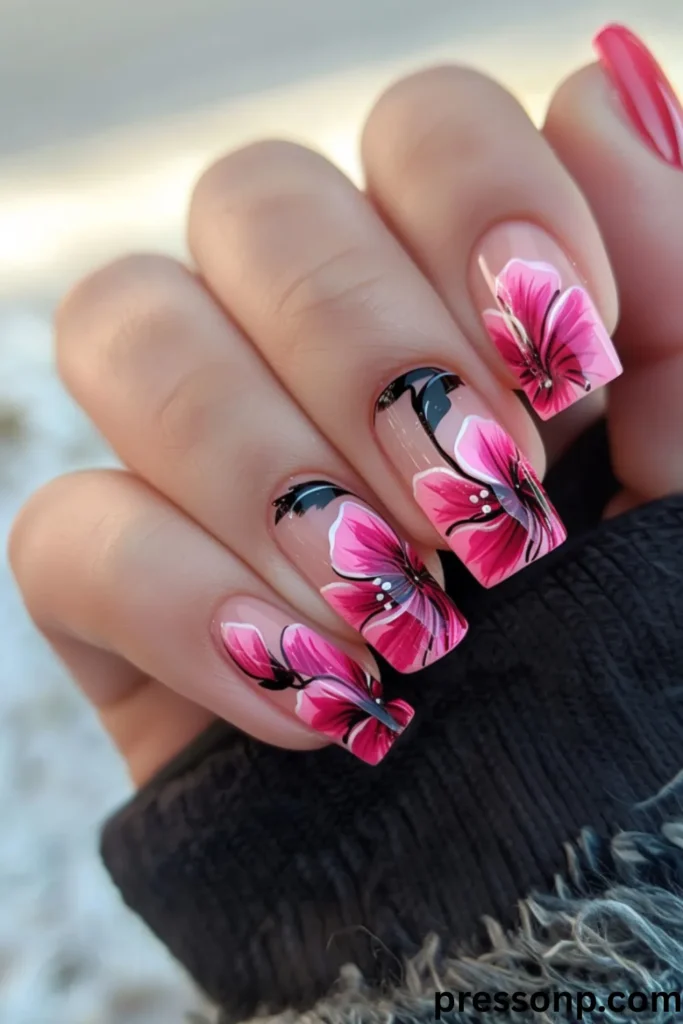
Hibiscus flowers come in fiery reds, hot pinks, and sunny oranges. They’re bold but forgiving. On natural length nails, paint just one hibiscus per nail (centered) and leave the rest of the nail bare or with a thin outline. The key is simplicity.
Try this: a matte base + a single 3-petal hibiscus near the cuticle. The petals can be painted using a small flat brush, or you can create a “stamped” look with a silicone stamper.
Why it works for short nails: Large designs can overwhelm a small canvas, but a single flower placed off-center gives the illusion of longer nail beds.
Save-worthy tip: Mix two colors for the hibiscus-for example, a bright fuchsia blended into an orange center. It adds depth without extra bulk.
04. Citrus Slices: Lemon and Orange Zest for a Juicy Look
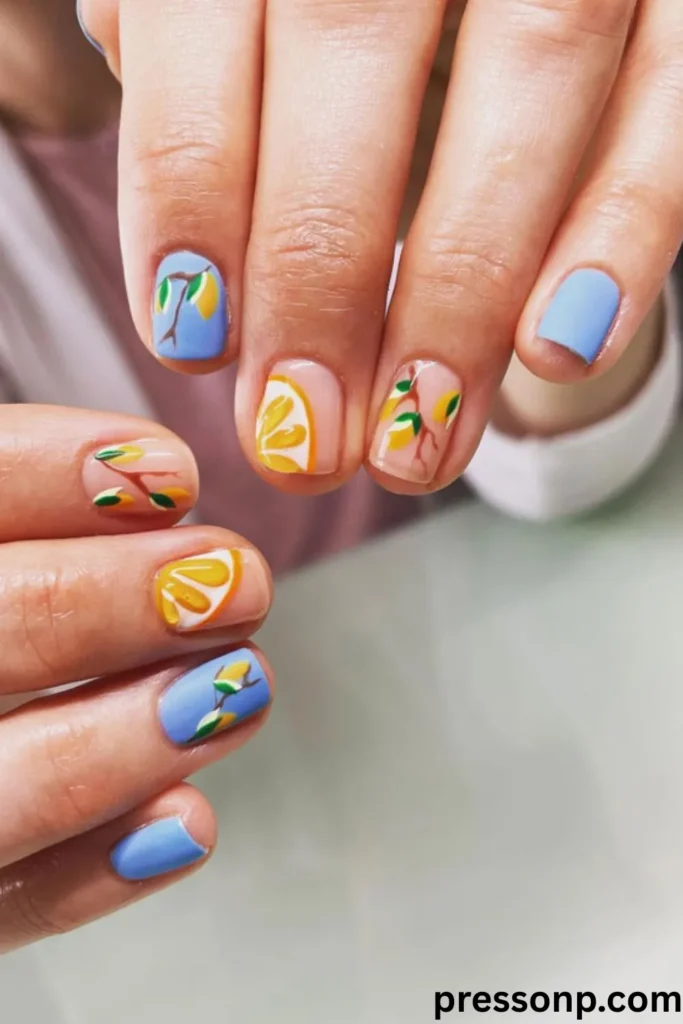
Lemons and oranges are tiny by nature, which makes them perfect for Fruit & Flower Tropical Nail on shorter lengths. Paint a pale yellow or white base, then add thin, semi-circles of orange or lemon slices. You can also do a “citrus wedge” design using a dotting tool for the fruit segments.
Step-by-step for a lemon slice nail:
- Paint your nail pale yellow.
- Draw a white circle in the center (about 1/3 of the nail width).
- Place tiny white lines radiating from the center to look like lemon wedges.
- Add a tiny green leaf on top.
Repeat on 2-3 nails. Keep the rest of your nails solid white or soft green. This design is bright, cheerful, and surprisingly easy on natural length because the details are small.
Save-worthy tip: Use a matte top coat over the whole design to make the citrus slices look like fresh, juicy fruit instead of shiny plastic.
05. Monstera Leaves & Tropical Berries: Green Magic
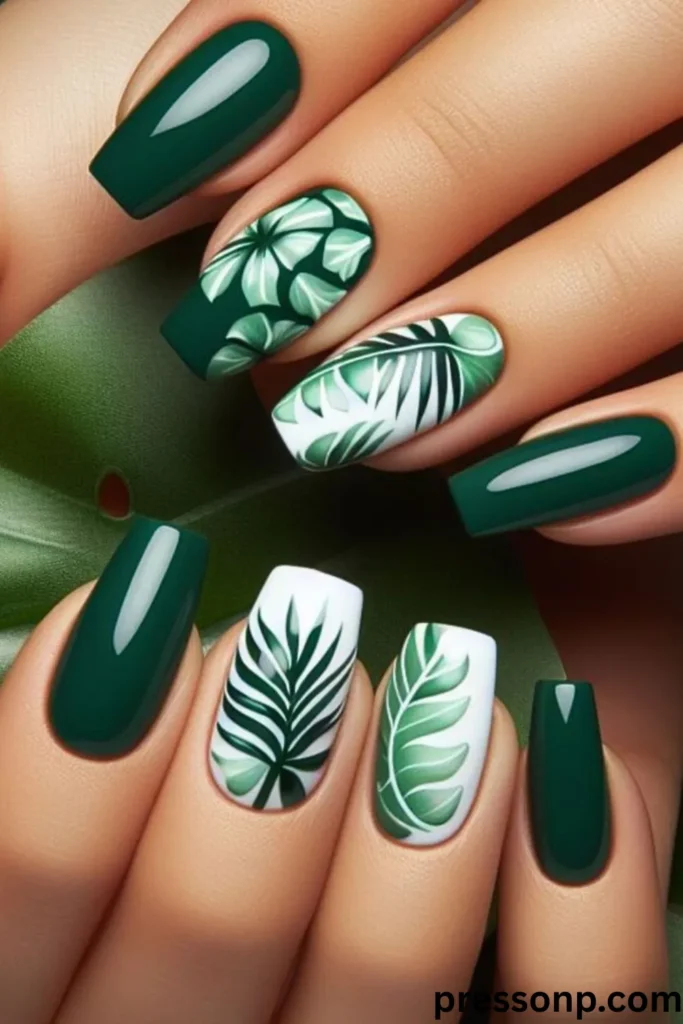
Monstera leaves (those big, holey Swiss cheese plant leaves) are having a moment. Pair them with tiny red or purple berries for a lush, jungle-inspired look. This combination is especially flattering on natural length nails because the leaves can be painted diagonally across the nail, elongating the shape.
Design idea: On your index and middle fingers, paint a single monstera leaf in deep green. On your ring finger, scatter three tiny berries (use a dotting tool). On your pinky and thumb, keep it simple with a sheer green shimmer.
Pro tip for beginners: Draw the leaf outline first with a thin green liner brush, then fill it in. The “holes” in the leaf don’t have to be perfect-just two or three tiny ovals cut out.
Save-worthy quote: “Tropical nails don’t need to be complicated. A single monstera leaf and a few berries tell the whole story.”
06. Watermelon & Daisy Combo: Playful and Sweet
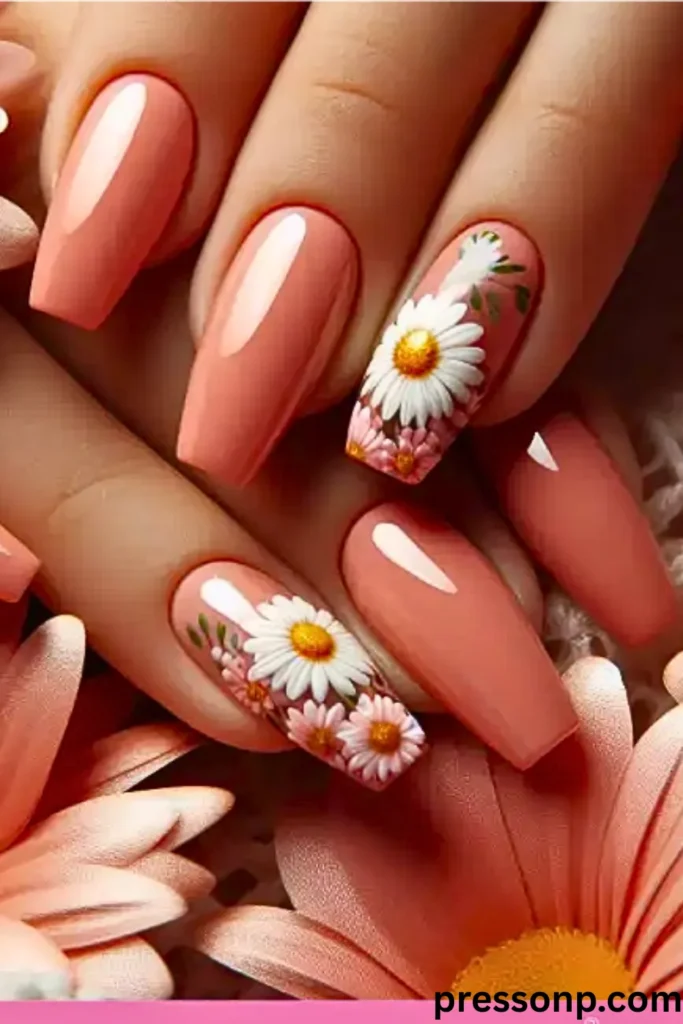
Watermelon slices are iconic for summer nails, and daisies add a soft, feminine touch. To make this work on natural length, use a “half and half” approach: paint the tip of your nail pink with a thin green rind (like a tiny French tip) and add a few black seed dots. Then, on the lower half of the nail, paint one or two mini white daisies with yellow centers.
Why this combo rocks: The watermelon gives you that bold summer feel, while the daisies break up the pink so your nail doesn’t look too busy. It’s a perfect balance.
Quick checklist for success:
- Use a striping brush for the green rind-thin lines only.
- Black seeds should be tiny; less is more.
- Daisies can be made with 5 small dots arranged in a circle.
Save-worthy tip: Short on time? Paint all nails as watermelon, then add a single daisy sticker to one accent nail. Instant charm.
07. How to Make Your Fruit & Flower Tropical Nails Last Longer
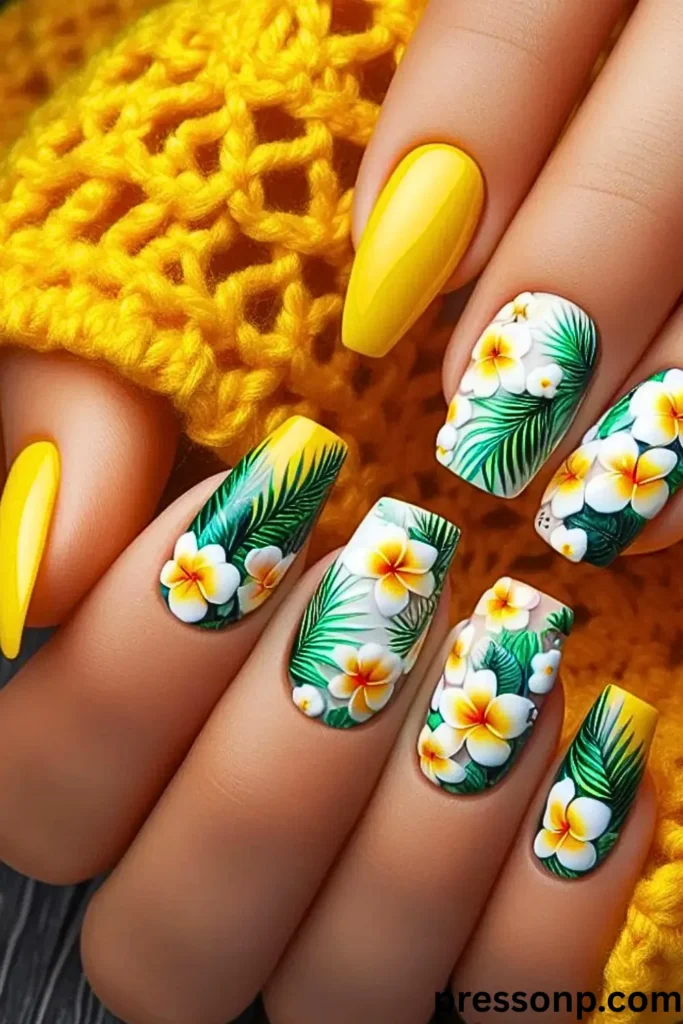
You’ve spent time creating these gorgeous Fruit & Flower Tropical Nail-now let’s keep them chip-free for two weeks or more. Even on natural length, nail art can last if you follow a few simple rules.
The longevity routine:
- Prep properly: Push back cuticles, buff gently, and wipe nails with alcohol.
- Use a rubber base coat: It flexes with your natural nail, preventing peeling.
- Thin coats only: Thick polish peels faster. Two thin coats > one thick coat.
- Cap the free edge: Run your brush along the very tip of each nail to seal the design.
- Reapply top coat every 3 days: Just a thin layer over the entire nail.
Extra love for natural length: Because your nails are short, they endure less impact from typing and housework. That’s a secret advantage! Embrace it.
Save-worthy quote: “The smaller the nail, the bigger the staying power-no bending, no breakage, just pure art.”
Call to Action (CTA)
Which of these 7 fruit & flower tropical designs are you dying to try first? I’d love to hear your favorite combo-drop it in the comments below! And if you’re hungry for more summer nail inspiration, save this article to your Pinterest board so you can find it again when you’re ready to paint. Don’t forget to tag me in your creations; I can’t wait to see your tropical masterpieces on natural length nails.And if you’re hungry for more summer nail inspo, click around the blog


Pingback: 7 Cute Short Summer Nails That Are Absolutely Everything – No Length Needed! - Pressonp